Here at Vectric HQ, we are always impressed by the projects made by our users. Patrick Coady’s JD Bottle project was one that stood out to us on the Vectric Forum due to the impressive detail and the finish. For this month’s case study, we caught up with Patrick and asked him about his background and how he got into CNC…
My name is Patrick Coady and I have been a Carpenter by day and Woodworker by night for the past 30+ years. My current position is the Finish Trim and Millwork Foreman with a Commercial Contractor in Upstate New York.
In 2017, Life changed when I was struck head-on by a vehicle while riding one of my motorcycles. I have a passion for the 1980’s Honda Superbikes. Broke quite a bit that day. Doctors advised that I would no longer be able to work the way I was accustomed to. I was now looking at the very real possibility of losing my Trade and my Craft.
One year later I began looking into purchasing a CNC for my shop. I had no intention of listening to my Doctors or stopping my woodworking at nights as that was always where I got to execute my designs into wood. After researching for six months I decided on the Axiom AR6 Pro with 4th Axis. I then made a very good decision to purchase Vectric’s Aspire for the software. At this point, I knew nothing about CNC machines nor Aspire. I simply looked at this as another machine I was bringing into my shop and besides, I was well versed with a router. :)
Fast forward… it has been 3 years and a lot of hard work and physical therapy and I have just begun to get back into the field a little bit by day and by night I am thrilled to incorporate Aspire and CNC into my personal creations.
We wanted to hear more about why he decided to create the JD Bottle…
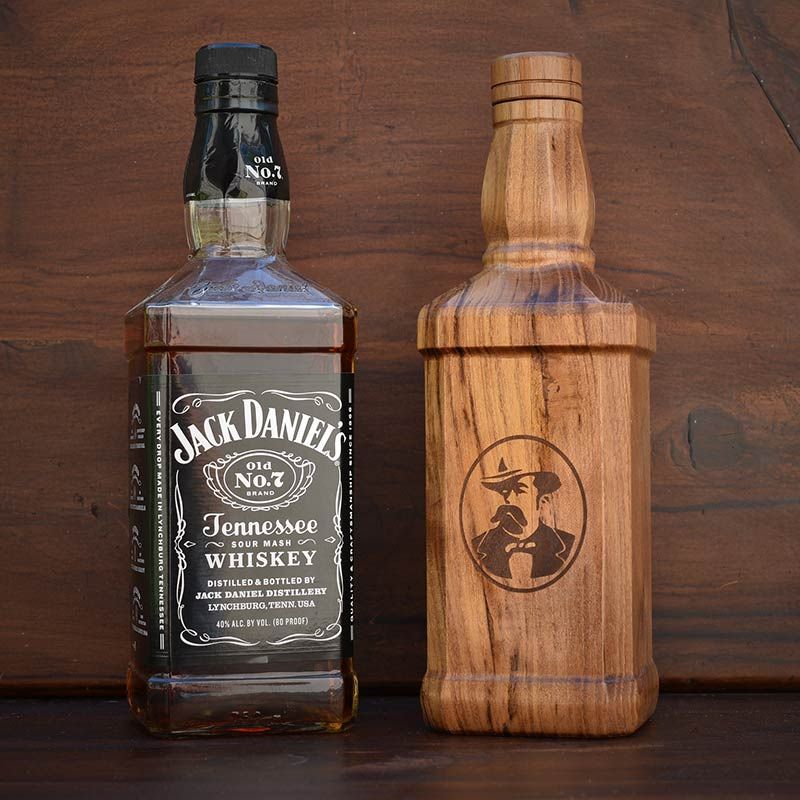
My son’s 25th Birthday was coming up and I had been wanting to make him something special. It had been a number of years since I gifted him something I made. I was currently working on a smaller version of the JD bottle in the software and thought what a neat gift a full-size rendering would be especially if I could design it to be functional as well.
After coming up with the idea and getting the materials together, Patrick went to work planning and designing the project…
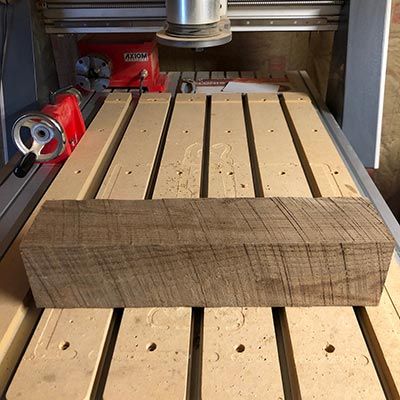
The material for this project came from a white oak 4x4 that was found in an old barn here in New York. More than likely 100+ years old. It was critical that this project is out of white oak as that is the wood used for the JD barrels.
I had been watching the Modeling a Spindle for Rotary Machining tutorial over and over and started to develop a pretty good understanding of the techniques presented so I felt it was time to create. I happened to have a small piece of wood from a Jack Daniels barrel and thought how cool it would be to carve a JD bottle out of actual barrel wood. This went well and since my son’s birthday was coming up, I decided to try a full-size rendering as his gift.
I purchased a 750ml bottle of Jack Daniels and began measuring every detail on the bottle. I broke it down to 3 sections: the base, the neck, and the cap and used Aspire for all design work.
Patrick then went on talking about the toolpaths and cutting the project…
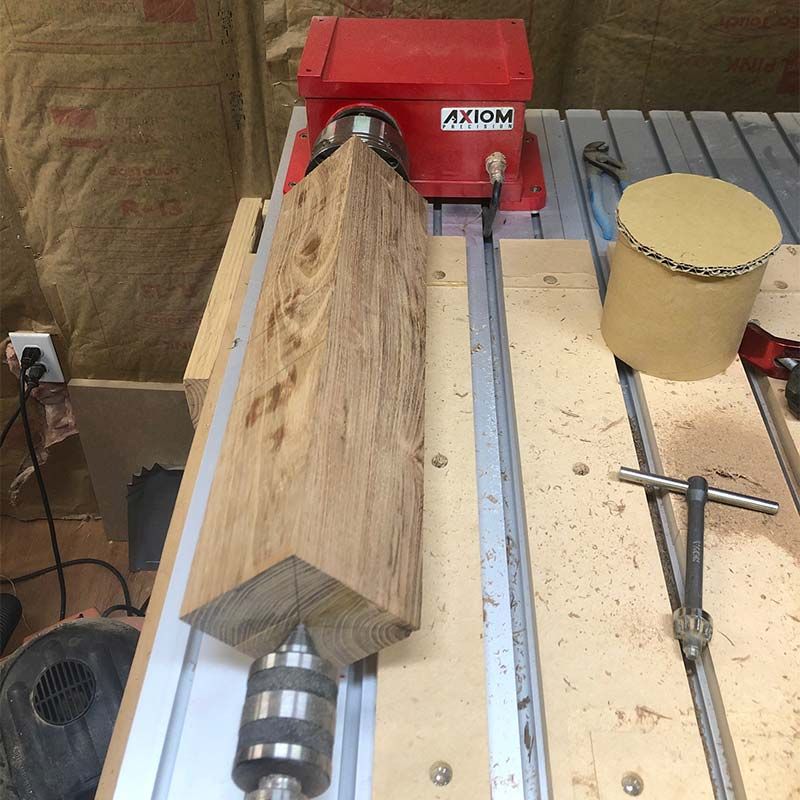
I used quite a bit of different strategies to complete this. The process began with sizing, squaring, and planning the rough-cut section of the beam first. This was all done on the CNC as I have been challenging myself to complete as many woodworking tasks as possible on the CNC as opposed to my traditional shop machines.
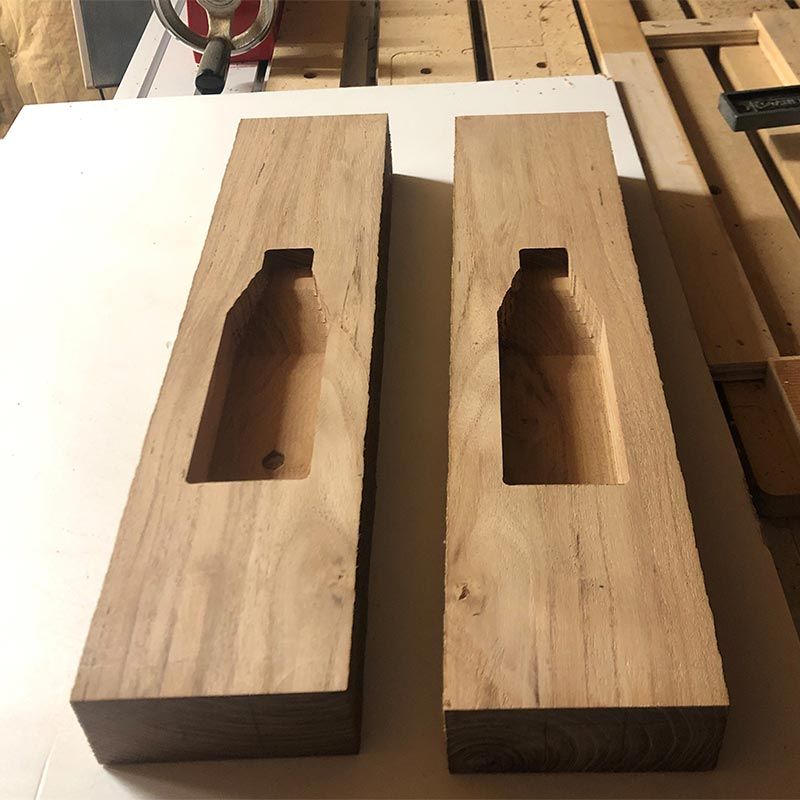
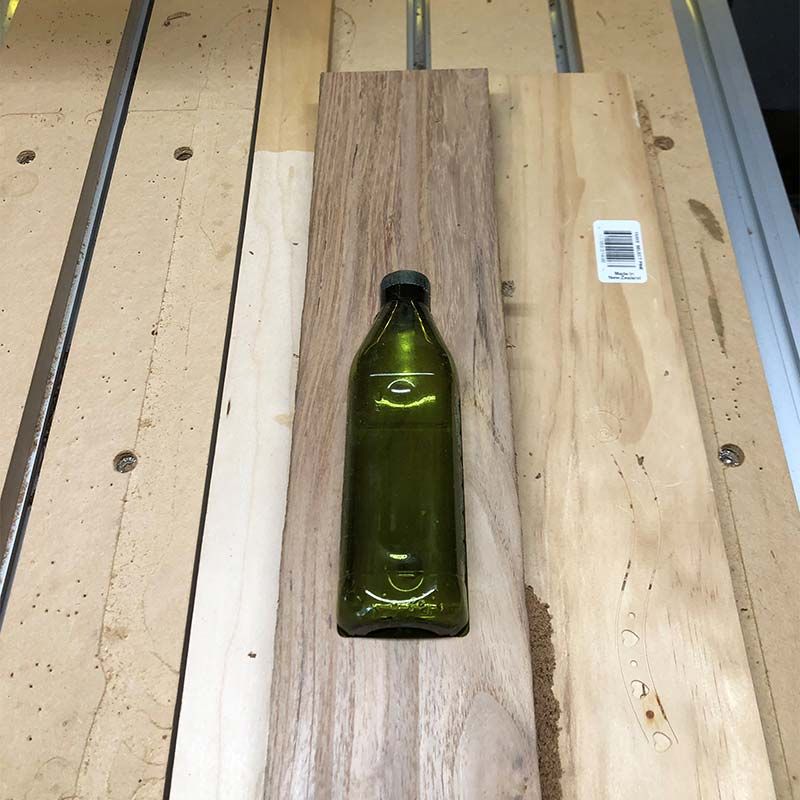
The next step was containment. I decided on pocketing a bottle on the inside and Aspire was very useful in this step. I measured and drew out a number of actual bottles inside the full-size vector profile of the JD bottle I had created so I could visualize how it would fit. After finding what was close to a perfect bottle to pocket in, I created a simple 3d model and milled that out in both halves of the white oak. Glued everything back together and then did a final sizing and planing on the CNC.
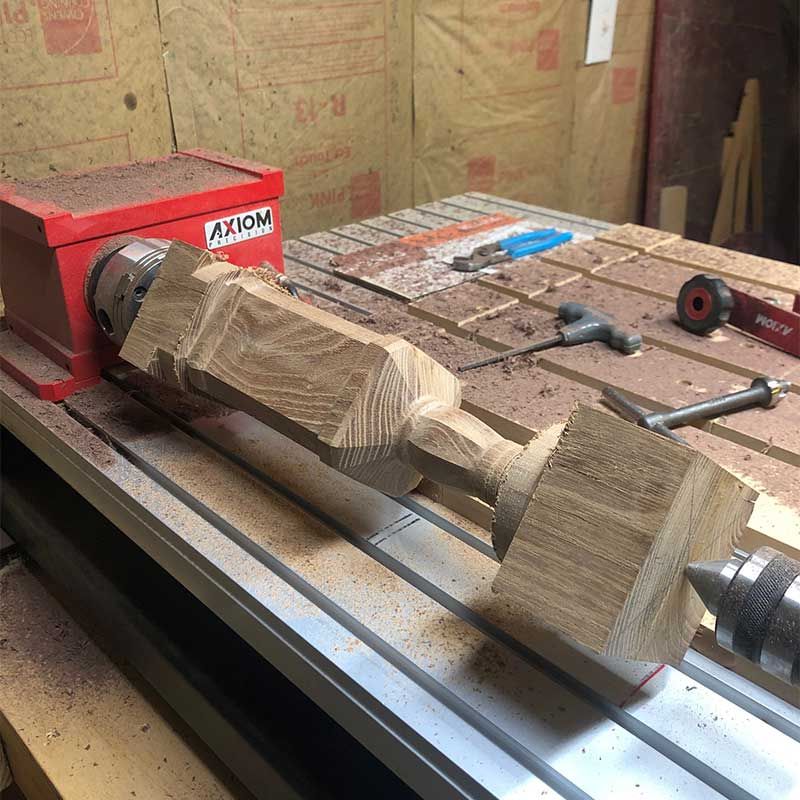
The next step was to run the full-size bottle model. For this, I used the techniques presented in the tutorial: 2 rail sweep combined with 3 cross-sections unwrapped using the vector unwrapper tool. Took some playing around until I felt confident, I had everything right. Used a .25 Ballnose for both the roughing and finishing toolpath.
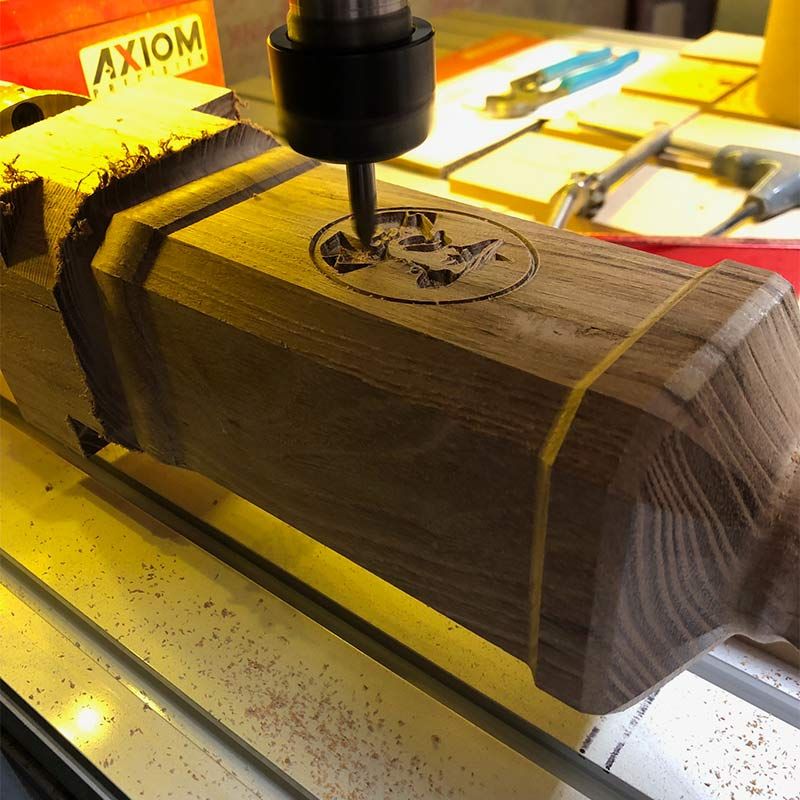
When this was complete it was time to work on the inlays. I have had previous success with Zanks V-Inlay procedure, so this step was fairly straight forward. My only concern was the female cuts as I would not be planing a perfectly flat piece for this. I prefer to use the CNC for waste removal with inlays, so I kept the piece on the rotary from start to finish. The flats were definitely not flat so to do my best I used a .25 ball nose and took Z readings at each edge while rotating the A-axis until both edges were within .004” off being horizontal. This being the smallest measurement I can manually move with my machine.
After the inlays were glued in place, I ran the 3D Finishing toolpath one last time to remove the waste material. This worked well and I had minimal sanding to do.
Having made it this far I certainly worried about the final step which was to cut the cap, insert a cork, and a little bit of drilling thru the neck to reach the bottle on the inside. This all went well without any problems and I had a beautiful one of a kind gift for my son that I knew he would cherish for a very long time and it holds 8oz of Jack Daniel’s whiskey.
Patrick explained about the finishing and building of the project with some reflection…
I sanded to 1200 grit and used an oil varnish mix for the finish. I choose this primarily for the feel of the piece. This would be handled and I really wanted the wood to be felt.
Everything came together very nicely on this piece. I think the only thing I would try different would be a 30* or even 15* v bit instead of the 60* I used. The inlays are quite small and fine, and I would have liked more depth.
We then asked Patrick if he has any tips or advice to fellow makers…
I always remind myself that beautiful things function better when I design and create.
Patrick’s hard work has clearly paid off and shows in this project and hopefully many more to come. Before we let him go, we asked Patrick what plans he had for the future…
Well, being just 2 years in on owning a CNC machine and just beginning to push the limits a little, all I can say is I look forward to many more creations.
We wanted to say a huge thank you to Patrick for taking the time to talk to us about his project so that we could inspire our community to try something new. If you have a story you would like us to feature, please get in touch, simply email online@vectric.com. We would love to hear from you.
Vectric Ltd
Precision House
2 Arden Road
Alcester
B49 6HN
Registered in England Number 05382596
VAT Registration GB115123072
Privacy Policy |
Cookie Policy |
Terms and Conditions


