In this month's case study we talk to a customer who focuses on streamlining the software and machine process to dramatically reduce his production times. Adrian Matthews, a CNC enthusiast and Vectric software user from the United Kingdom runs his own part time production routing operation along with a number of other businesses. Adrian's previous experience has taught him the value in putting work in up front to reduce times for repetitive work and this encouraged him to come up with a variety of ways to help streamline some common CNC processes. By using software features such as Layer Management and Toolpath Templates along with a customized interface for his CNC and creating a variety of jigs and fixtures for quicker part setup, Adrian has managed to transform hour's worth of work into just minutes.
In the article Adrian explains how he got into working with CNC and takes us step by step through a recent production job, highlighting areas where he was able to save time and money and along the way throws in a number of useful tips and ideas he finds useful.
Adrian begins by telling us why he decided to start his own CNC business and why he chose to specialize in production routing as opposed to more decorative CNC work.
"Following my career in IT I wanted to start three or four small, primarily home-based, businesses to have multiple income streams to protect myself from any future recessions. One of those businesses was to combine my love of boats and woodworking into a part-time business and do fit-outs of boat interiors, but other than my own boat and a few small jobs that never really took off. It was around this time that I built a small CNC machine to cut the intricate custom pieces needed on a boat.
I learnt a huge amount with that machine and I realized that CNC was something I could really get into as it combined pretty much everything I enjoyed doing. The only thing I found frustrating was the clunky process of creating DXF drawings and generating G-code with the software I was using at the time.
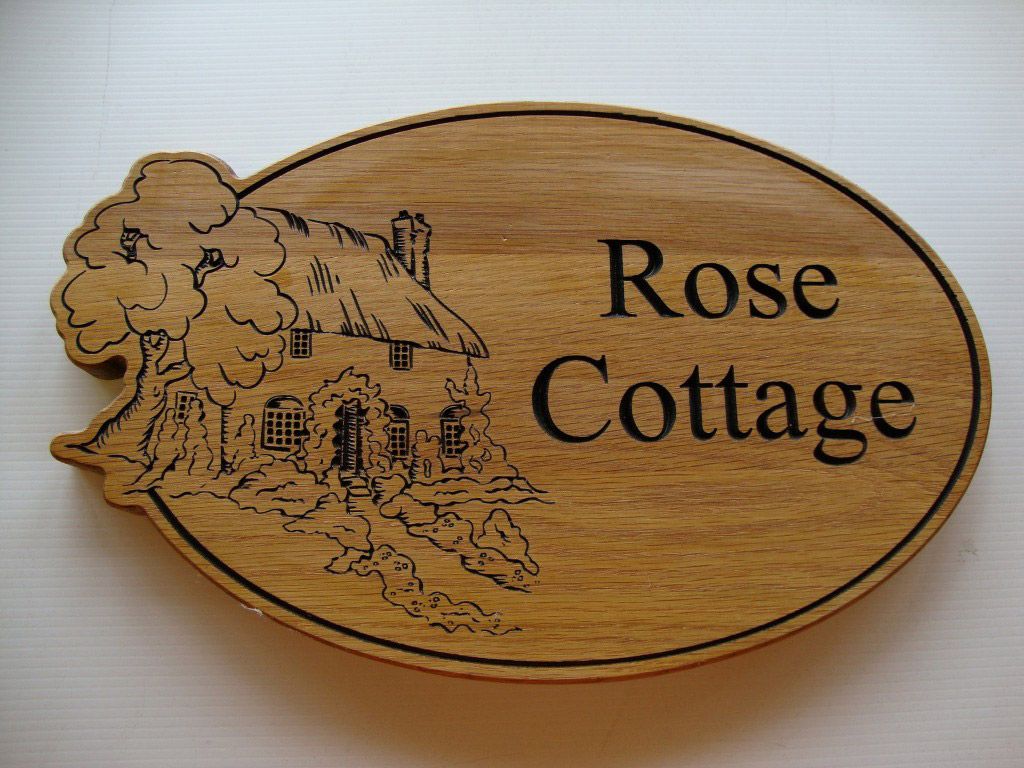
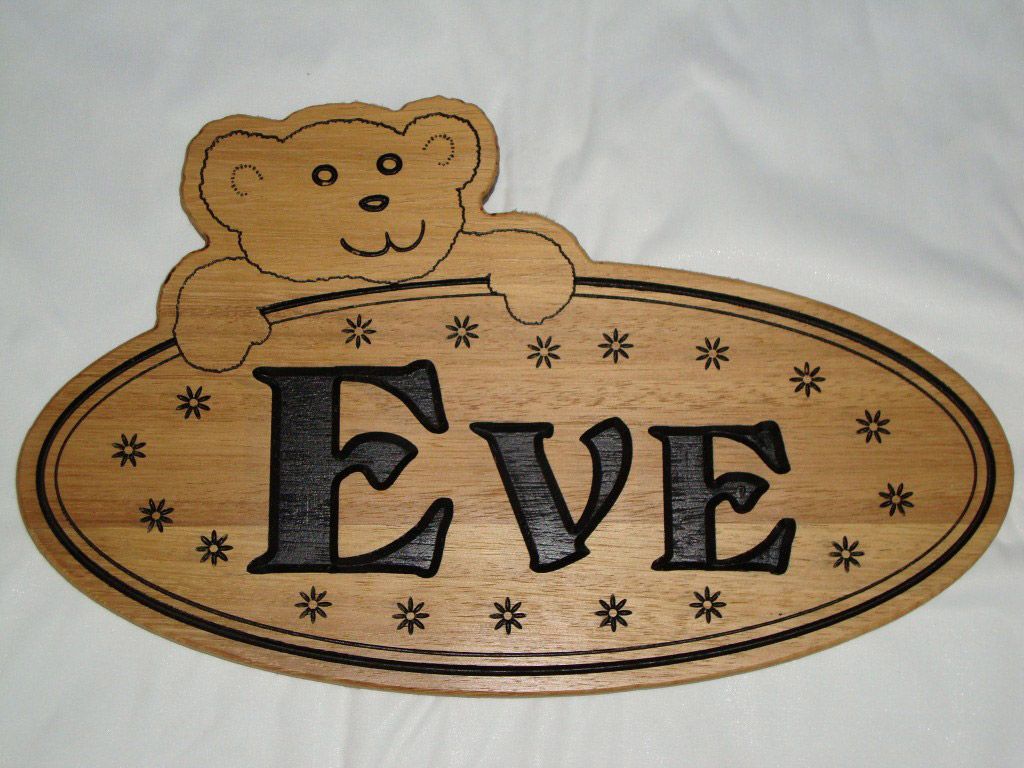
The final piece of the puzzle was coming across to Vectric's VCarve Pro software. It was exactly what I needed; one piece of software that did everything from beginning to end (Adrian has subsequently upgraded to Aspire). I went through the usual route of creating small signs, door plaques, general v-carving etc. before the old business brain kicked in and I realized that sanding and finishing wasn't something that I could automate and consumed an enormous amount of time.
I realized if I really wanted this to be an easy to run part-time business I needed to be able to load materials onto the CNC and literally take the cut items straight off and ship them to the customer.
I decided that producing raw parts for other people to finish was the way to go and I was soon up and running making all sorts of pieces for local businesses and craft people.
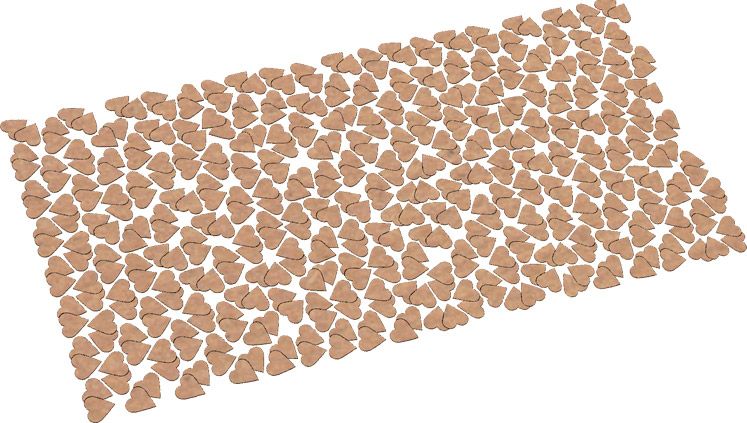
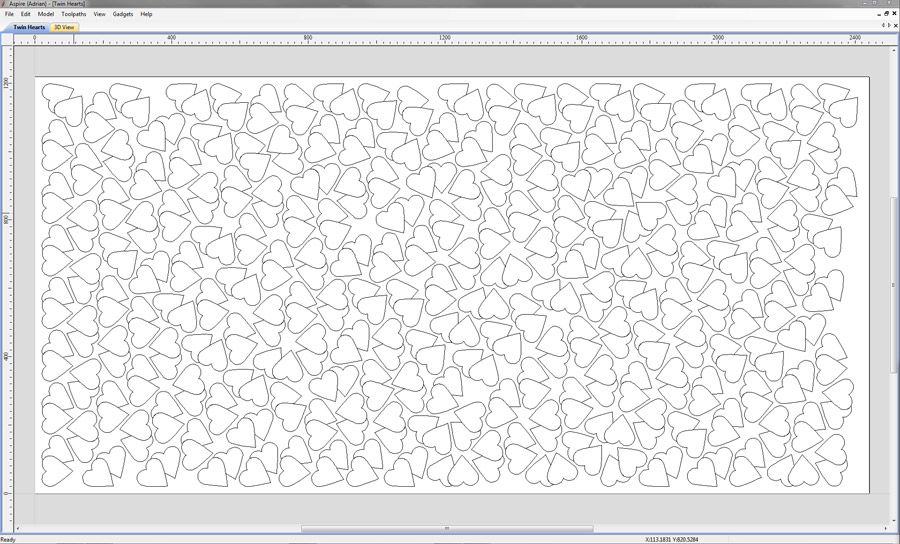
There has been plenty of work just through recommendations and repeat business (I've cut over 8,000 of the "twin hearts" so far!) which is just as well as I still haven't got a web presence. This is very embarrassing as I beta test ecommerce software and help develop web strategies for other businesses.
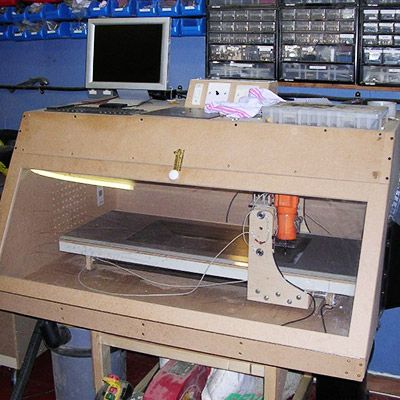
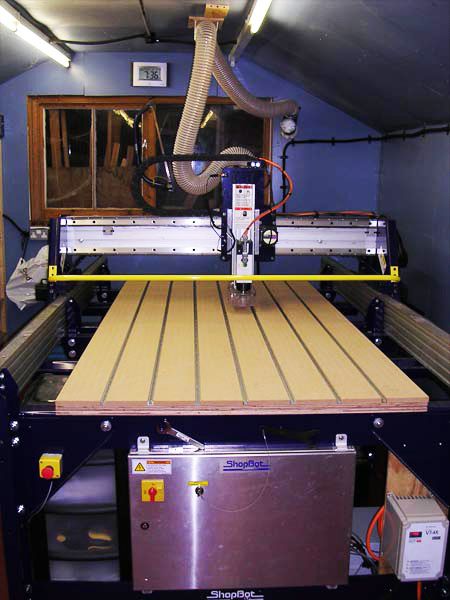
Savings interest rates were pretty dire at the time, so I decided that I could make the money work harder by investing in some new CNC equipment. Due to the limited access to my workshop it had to be a machine that could be assembled on site which really meant a ShopBot. I ordered a PRS Alpha 96x48 (below right) with a 2.2hp spindle and I've been more than happy with it ever since.
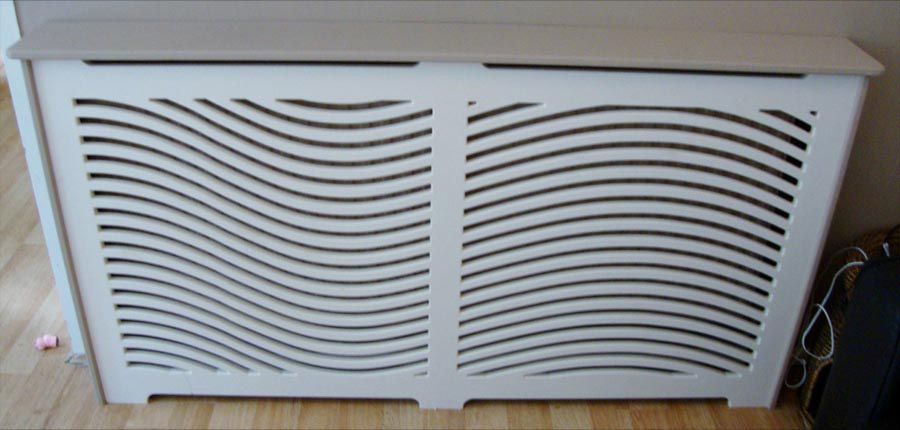
Having the larger machine enabled me to move into areas such as radiator cabinets (below left) as well as being able to make more profit on the smaller items by cutting more at a time. Not to mention the massive increase in cutting and movement speed.
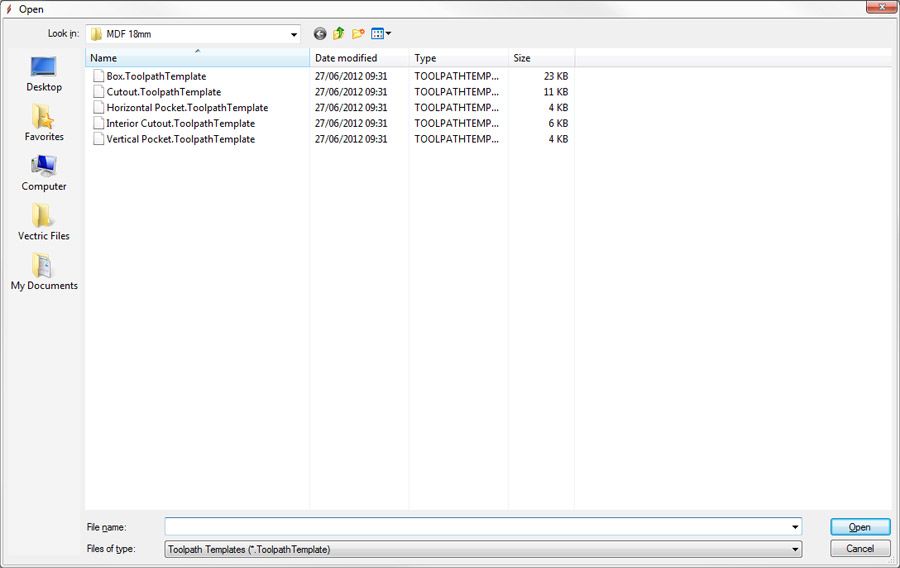
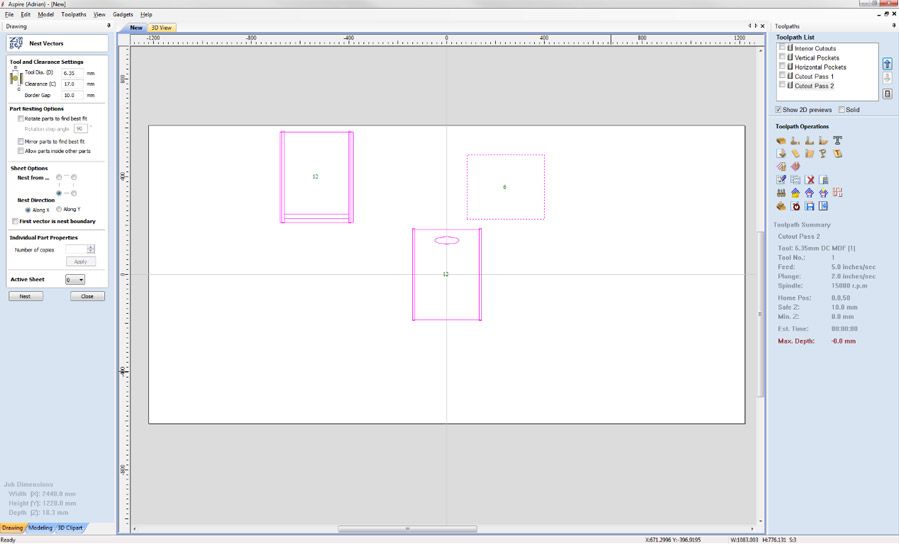
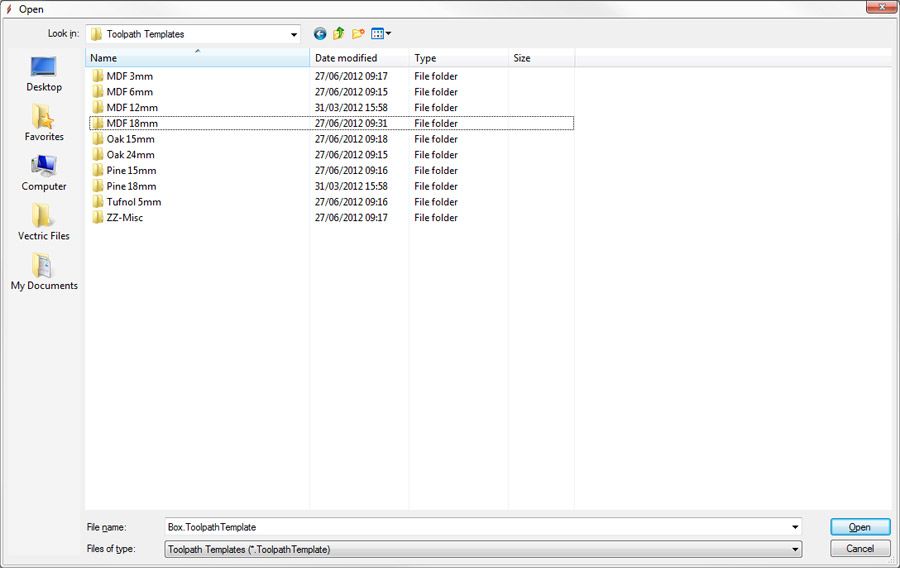
When toolpath templates were added to VCarve and Aspire I immediately saw the benefits for what I was doing. Quite a few times I had ruined a sheet of material due to forgetting to add an offset or selecting the wrong tool. The templates gave me a way of ensuring that I was using the correct settings for the job every time without having to go through check lists etc.
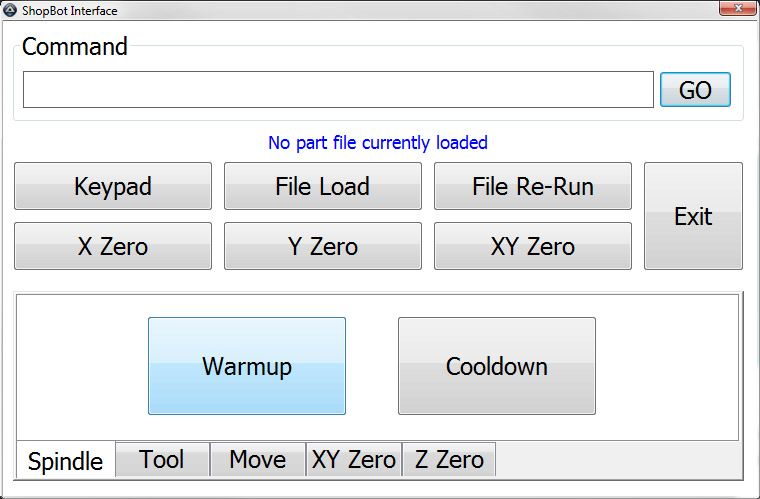
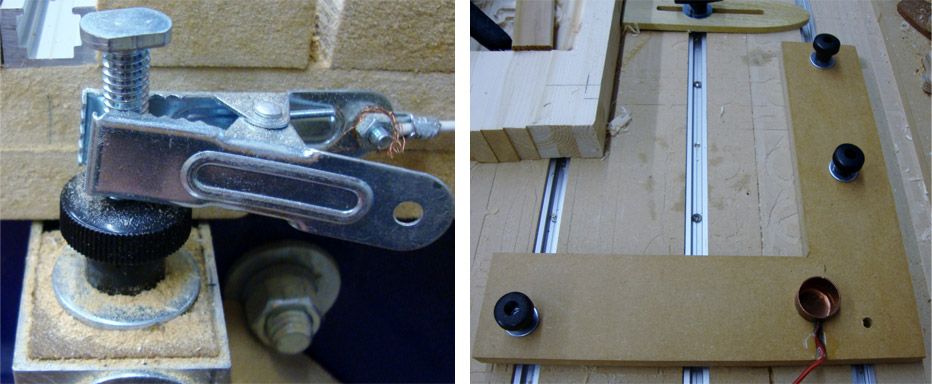
I've continued to refine and streamline my processes so that what used to take me hours of toolpathing and setup now only takes a few minutes. I've created a custom interface program for my ShopBot (below center) to save time and reduce errors plus various jigs and fixtures (below right) to make job setup faster and more accurate.
I have huge admiration for people like Tim Merrill (forum user tmerrill) and the 3D work they do. I know I just don't have the patience for the finishing work that is required for pieces like that. Not to mention that I don't have an artistic bone in my body!"
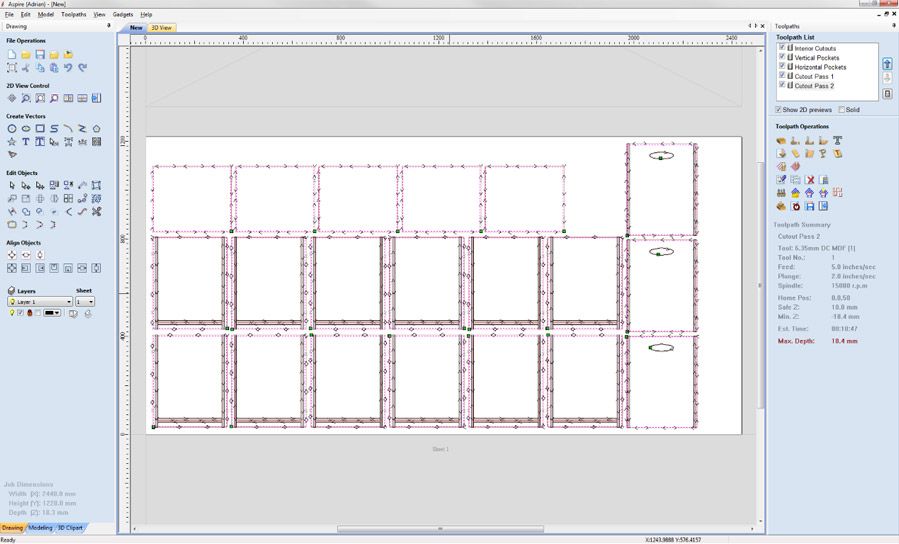
To try and get a more practical understanding of Adrian's process we asked him to describe his most recent job where he had to create six custom MDF boxes to fit into a wall unit the customer already owned. This offers a great insight into his approach to work and more importantly highlights key areas where you can save time. This step by step guide helps reveal how simple and effective production routing can actually be...
"As with 99% of my jobs the customer was to do the final sanding and painting. Just the way I like it!
I did a quick render in Sketchup to make sure that the type of "handle" I was proposing was acceptable. In this case the customer decided that they wanted the handle holes on the back and front. I did this job in Aspire but all the steps I show here apply equally to VCarve and work in exactly the same way.
STEPS:
Apart from setting tabs I never edit a toolpath at all these days.
Not to mention the time savings. I can go from a new session to a ready to run set of toolpaths in well under ten minutes for a job like this knowing that it will cut perfectly first time."
We would like to thank Adrian for sharing his experience in CNC with us and also for helping demonstrate, with the step-by-step example how key features like Toolpath Templates, Layers and Nesting can help save time and money on many jobs.
Tutorials
Below you will find tutorials that help demonstrate how easy it is to utilize features such as Layer Management and Toolpath Templates and Ordering with Vectric's VCarve Pro and Aspire software. You will also find a trial download link for Aspire so you can test the software's deceptively powerful functionality for yourself.
Explains how you can use Layers to keep your work organized and setup efficient modeling and toolpath creation.
(13.5 minutes, 11Mb)
Toolpath Templates and Ordering
Overview of key toolpath features in VCarve Pro and Aspire which can be used to give the user more control over the toolpath and improve productivity when working on similar parts.
(16.5 minutes, 15Mb)
Vectric Ltd
Precision House
2 Arden Road
Alcester
B49 6HN
Registered in England Number 05382596
VAT Registration GB115123072
Privacy Policy |
Cookie Policy |
Terms and Conditions


