For this month’s case study, we got in touch with Karen Walmsley, a professional woodworker & business owner, and her partner Wade Lasister, a retired Army Medic with a strong construction background. We wanted to learn more about their first 6 months using CNC technology.
The couple, from Leesville, Louisiana, start by explaining why they decided to explore CNC as a business opportunity, then go on to discuss a number of projects they have created using their Shark CNC Router and Vectric’s VCarve Pro software...
"The decision to start using CNC came about when we both began to think about the changes that come with age. Wade had finally retired for the last time and at the age of 54 I knew I had very few years left working with large pieces of furniture. All the finishing chemicals had already taken a physical toll on me, but we both knew wood was our direction. We had to find something that provided income after retirement and Wade needed daily activity to stay sharp both physically and mentally. The CNC was a perfect field to consider, so after much discussion and speculation, we took the financial plunge and committed ourselves to finding a way to make it pay off.
I like to class myself as pretty computer proficient having started with my first machine way back in 1982, but I'll be honest and tell you that I absolutely knew this whole CNC/VCarve thing would be difficult for me to understand from the start. To begin with I would create a file, run it the next day, see the mistakes, then take it back to my computer in the house and analyze it until my brain was nearly fried. I read the forums even though many of the posts were Greek to me. I printed and read through the manual while riding along on a 12 hour road trip over Thanksgiving. I watched the instructional videos over and over again and over time things finally began to click. Then it was like dominoes, one dropped and the rest started dropping too and suddenly I understood Greek. I re-read the forums to understand all those things that didn't make sense before and guess what? This time they did make sense!"
Up until this point, Karen and Wade had only created text signs and plaques, but now that they understood the technology better, it was natural for them to want to try and cut something a little more complex.
Homeland Security Seal
"I remember this project as our 'learning project'. At this point I still only had a vague idea what a vector was!
To design the seal I had to find and import a bitmap image, get VCarve Pro to automatically fit the vectors and then carry out some node editing. It was at this point I learnt that even a small tweak of a node affected the work piece in a big way.
As you can see from the image (left), the first attempt was a total failure.
I spent hours on the second attempt, constantly flipping back and forth between the editing window and the 3D window, wondering why the background section carved out this time but not following a minor change. When designing this piece, I hand-set the letters individually, constantly thinking that there had to be a way to copy, flip and paste a section from the left side to the right side, but I didn't know that the features were already available in VCarve Pro - bear in mind that at this point I was less than 30 days into the whole VCarve/CNC world and had, maybe, 25 hours total working time with the software.
To start with the initial learning curve, for me, was steep and I found it difficult to get familiar with the program and remember all the different features. Why this small change would produce such a drastic effect was frustrating beyond belief.
The next attempt (left) was better but it still wasn't right. I brought that one up to my computer so I could look at it while comparing it to the editing window and on that night my relationship with VCarve Pro changed forever. I hovered my mouse over every single button and remembered the titles and meaning. Then I found the "Wrap Text Along a Curve" and it was like someone had just switched a light on. I deleted the entire "Office of Homeland Security & Emergency Preparedness" line and went straight for the Arc tool. First try, the words were upside down and backwards, but then I got it right and repeated the process over and over until it became second nature. Now I don't even think about 'how' to do it, I just do it.
The second brilliant moment was finding the "Mirror Selected Objects". Initially I wasn't making the connection between selecting the bits (which had to be ungrouped first), then copying, pasting, mirroring, moving, setting into place etc. Somewhere in all this I also discovered the Measuring Tool, the Group/Ungroup, Text Spacing and all those other things that were there all along. Maybe I should put it another way – I didn't discover them, I mentally linked them all together and in a matter of just a few minutes, everything made perfect, logical sense. I probably shouldn't admit it but it's taken much longer to type out the explanation than it took for it all to click in my head.
I spent an additional 2 hours that night cleaning up wonky lines, checking text spacing, moving a little here, nudging a bit there until I finally saved the files and quit for the night with plans to do the cut the next day. Before starting the cut, I decided to add a skim coat of bondo and attempt a faux metal finish. I've never worked with bondo before but in for a penny, in for a pound.
The final piece can be seen to the right. I was really happy with the results. It's not perfect and there are a few bobbles here and there that could be smoothed out, but I felt like this one could be called a success. Since that night I no longer feel intimidated by VCarve Pro."
After completing the Homeland Security seal, Karen's confidence grew. She and Wade now realised what they were able to create using CNC technology, and the duo went on to create a number of other projects that they have kindly shared further details about below...
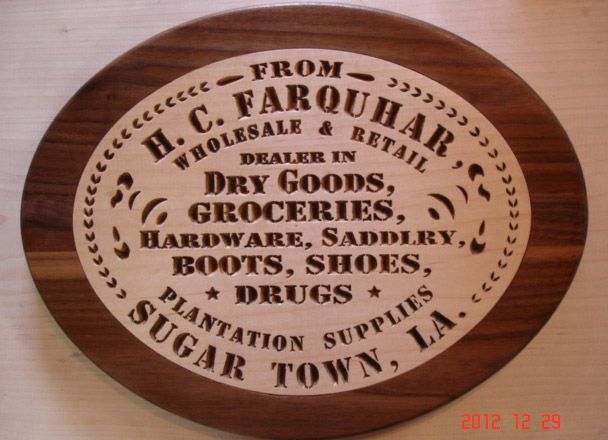
Oval Stencil
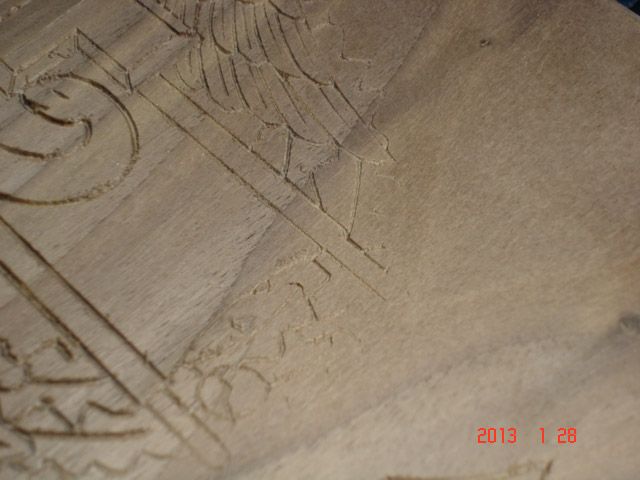
"After I conquered the Homeland Security seal I started to work on a commissioned piece – the oval stencil. The man who had the 1850s stencil was the great, great, grandson of the man whose name you can see on it. He wanted one carved for himself and one to mount on a wagon from that era, both of which were to be donated to a state Rural Life museum. All I had to work from was a blurry scan and the dimensions, but as I now felt confident enough with arcs, snapping text and drawing shapes it didn't worry me much. One good cut under my belt and I'm ready to tackle the next one!
I was almost certain that this project was going to be OK, so the next day we tested the first letter and straight away we knew there was a problem. I stopped the cut after only a few letters as it wasn't worth finishing.
Back to the house. Back to the forums. Back to reading. Wade managed to find a thread dealing with Cutting Depth/Flat Depth box. After learning more about this, we checked it in the toolpath options and set the depth to .20 inches and we returned to the shop to test it.
Of course, it was the solution. I had it in my head that anything with the Flat Depth setting - letters, numbers, flourishes and so on would have an actual flat bottom and that wasn't what I wanted at all so I had never considered using it.
The walnut outer ring for this project was also programmed with VCarve Pro and required only minor sanding to create a snug fit."
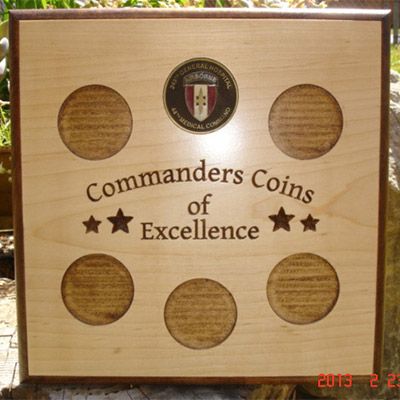
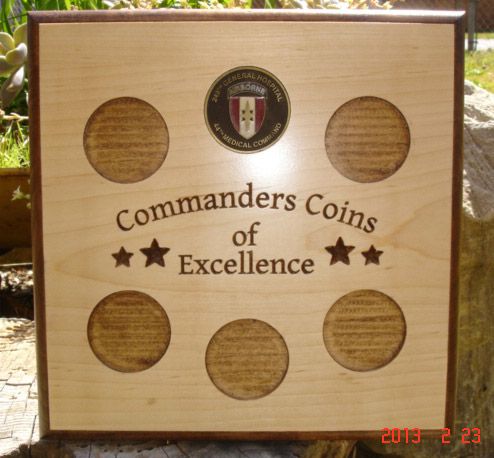
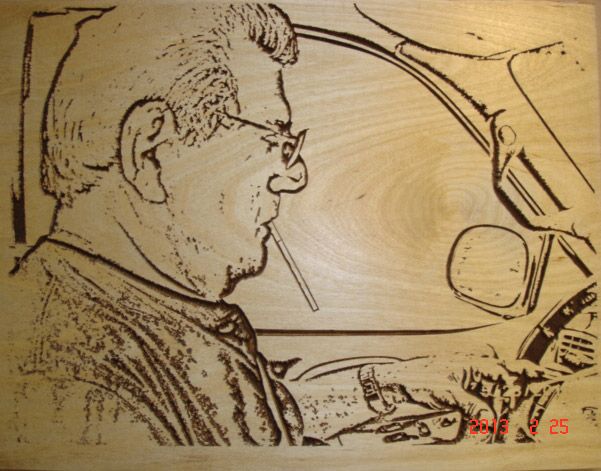
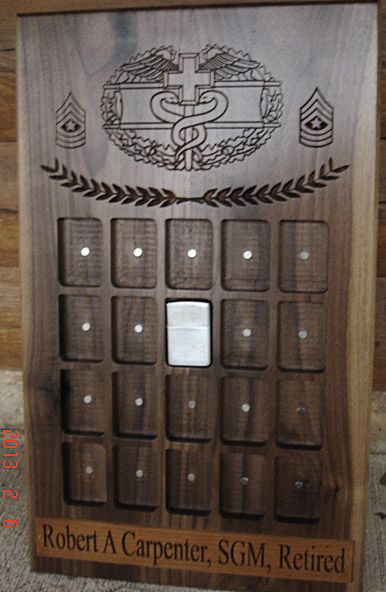
Lighter Case
"One of my next projects was this lighter case, the second I have created to date. It was a charm to work up in VCarve Pro, especially after I discovered the Array Copy tool that allowed me to duplicate and line up all the lighter pockets with just a couple of mouse clicks. The combat medic badge took very little node editing to correct a few lines that were too thin and smooth out a couple bumps and squiggles. The 3D view is invaluable for finding those little spots to correct. Without it I'd be doing a test cut with every change rather than flipping over to see the change on the monitor.
For this project, VCarve Pro saved the day when the very slightest imperfection in the glued-up walnut panel created a big problem. Undetectable by eye and only slightly detectable by measure, a miniscule bow in the joint translated to lost lines on the outside edges of the badge. Had the badge been larger, or carved deeper, the difference might not have been noticeable but that wasn't the case here as the vectors were a mere 0.021". I couldn't make a new panel and start over, I couldn't stop and run it through the planer - I had to go with what I had. So I let the file run through once then did an on-the-fly edit and created a separate tool path for the shallow areas. I then reset the flat depth from 0.15" to 0.18" and reset the Z-zero down an additional 0.005". That small edit saved this project and it was fairly simple to do once I thought it through logically.
The one thing on both lighter cases that I have done by hand was drilling the holes for the rare earth magnets, but on the 3rd case they'll also be programmed in."
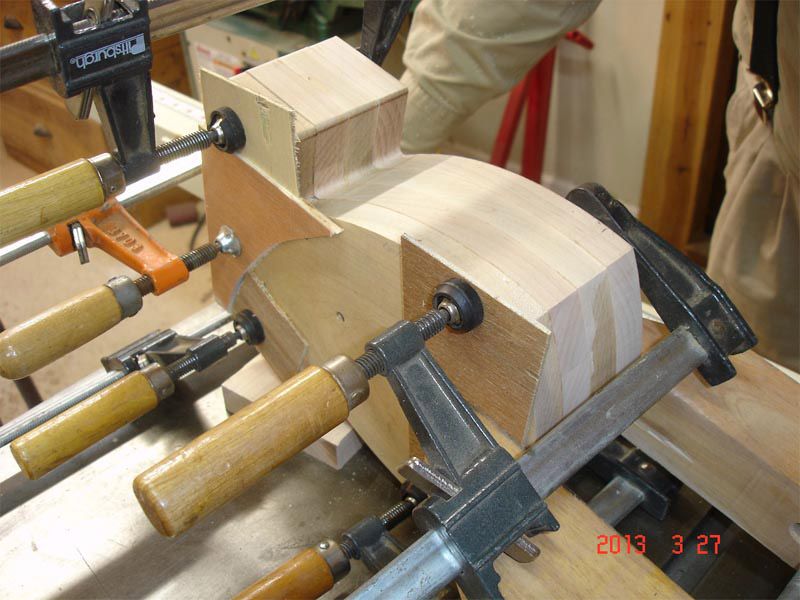
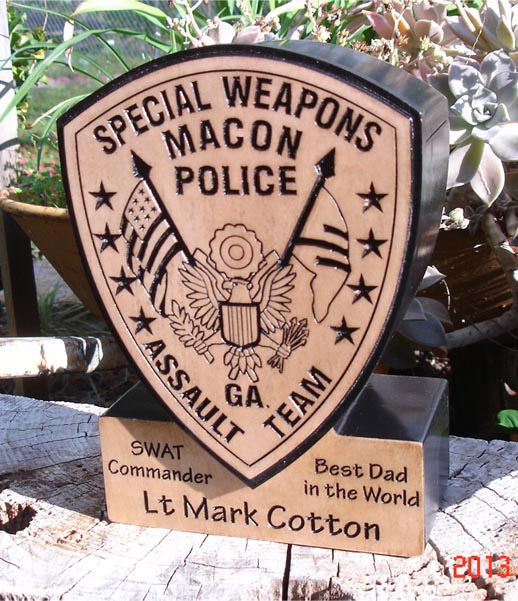
Memorial Box
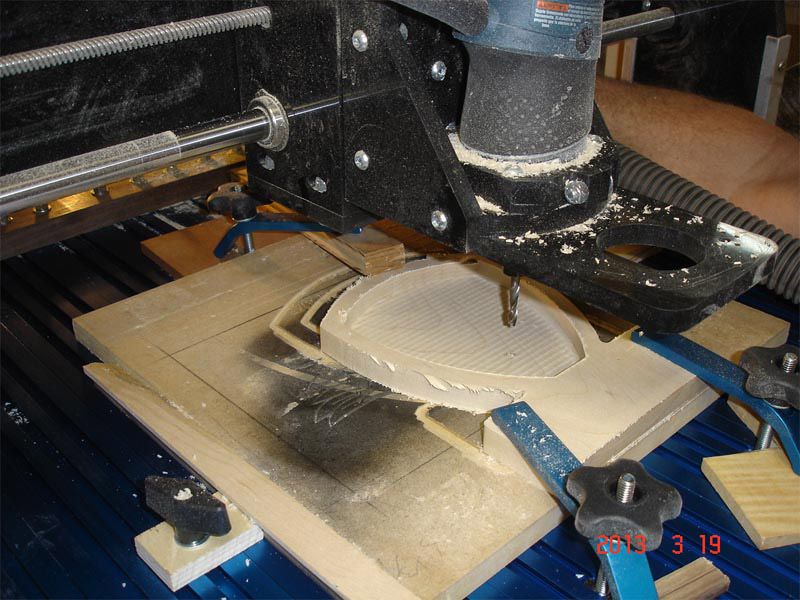
"For our latest job we had a request to create a box to store ashes. The photographs above show the production from the MDF prototype through to piecing the maple cuts together. This was definitely a first for us and we could have taken the easy way out and done a simple square box with the SWAT badge carved into the top, but we decided to do something unique instead which is why we worked up the prototype first. Good thing too since the original design ended up being impractical.
Four layers, front and back with pockets cut into them, plus two inner layers cut through, all laminated together and the top cut off after the glue had set up. The cut was then black lacquered and 8 rare earth magnets to hold the top were fitted securely in place. Finally the SWAT badge on .25" maple was mounted on the front with the engraved name. This was an interesting piece and we learnt plenty of lessons creating the project which we presented to a very happy young daughter."
Other projects
"I can easily say that CNC technology has really changed a couple of aspects in our lives. First, this IS a part of my small business, that's already happening. Hopefully to the point that one day I can switch over from working on furniture to doing this full time. Secondly, our night time hours are now spent working out designs and files whereas we would have simply watched TV or surfed the internet instead so our hours are productive rather than passive.
After looking back at what we have achieved in such a short amount of time, we're now confident enough to start taking orders for custom pieces. We are also working on a recurring production deal and are about to launch an Etsy store and Facebook page – all in 6 short months. The Shark CNC and Vectric's VCarve Pro are a part of our daily lives now and we look at things in a whole different way, with the plan to go full time in under 2 years"
We would like to thank Karen and Wade for taking the time to talk with us about their experience to date, and look forward to seeing what they'll be creating in another 6 months time. You can follow any updates that Karen may publish online on the Shark CNC Forum under the username 'KarenW'.
Vectric Ltd
Precision House
2 Arden Road
Alcester
B49 6HN
Registered in England Number 05382596
VAT Registration GB115123072
Privacy Policy |
Cookie Policy |
Terms and Conditions


