Now I have the toolpathing all setup and ready to go, its time to double check everything, re-measure the wood to double check I have not made any basic mistakes, like used MM instead of Inch for my Units and that the machine is warmed up and ready to cut.
With all the checks done and completed I’m ready to begin cutting.
The first toolpath to run is the 3D toolpathing.
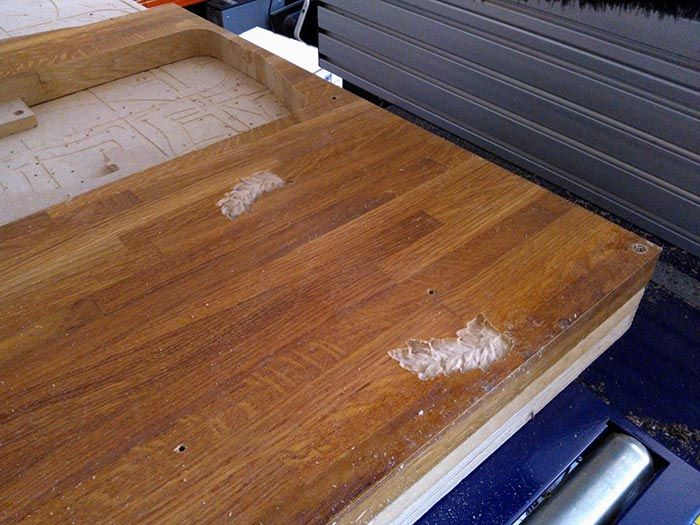
This uses a 1/8 Inch Ball nose, so I get it installed, reset Z Zero to the top of my material and confirm that the XY Zero on the Machine matches how I have it set up in my project (in the centre).
You can see in this photo that this is the same piece of wood used in my previous post, for the house sign.
Next up is the much more intensive Endmill Toolpath.
Using a 1/8 Inch Endmill It hogs out the combined pocket toolpaths, one at a time.
Its slow going and I think that I should have used a 1/2 Inch Endmill to rough out the majority of the material and accept I had to do another Bit change.
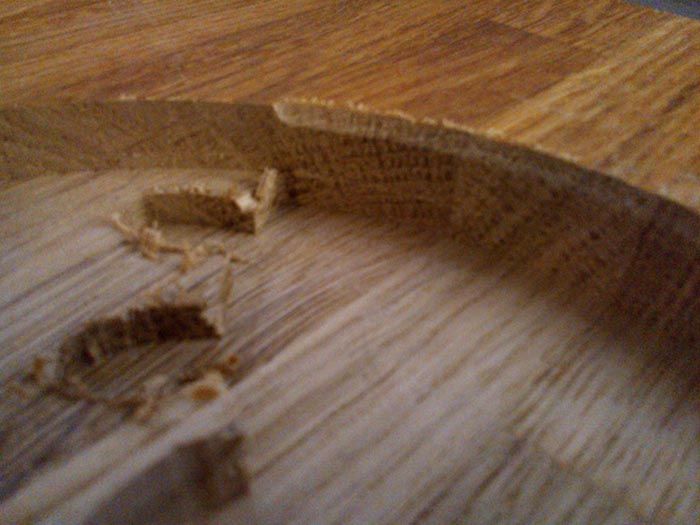
Another Mistake I made was to not check the length of the selected Endmill, and in the next picture you can see where the Collet touched down on the edge of the deepest cut. Definitely something I need to account for in future projects!
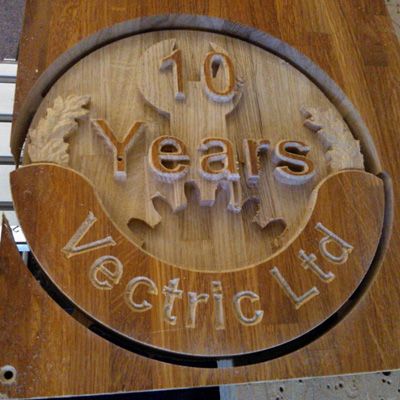
The different levels of pockets came out fantastically and exactly as planned. It seems I had a pre-existing hole in the wood, right on the Y though!
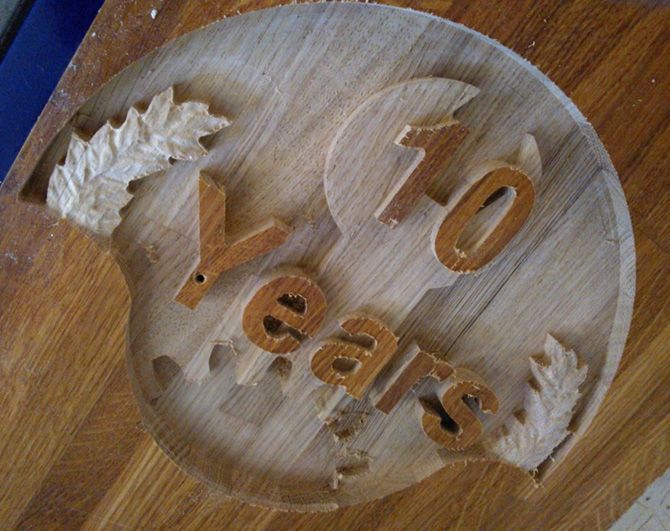
Next up is the much simpler 1.5” 90 deg VBit toolpath, it will do my VCarved lettering and then profile cut around the “10 Years” to give them a chamfered edge appearance.
It looks as though my VBit is in need of another sharpening though and there was a little bit of tear in the wood, and a few small chips knocked out in some of the lettering.
This toolpath was nice and quick to run though and I’m now ready to move on to the final Cut-out.
The Final Cut-out is also a nice and simple Profile toolpath using a 1/4 inch Endmill.
I added 5 tabs to the toolpath to keep everything secure and let it run. While I had spotted the issue coming up from before I had mis-measured my Centre point for the part slightly and with the 10” width of the part, I had set X=0 5.5” from machine 0. I had forgotten to account for the fact that machine 0 on our machine was actually 1/2 Inch off the edge of our spoil board so it turned out I was only just within the wood limits by the time the Cut-out toolpath was run.
The finished cut and the cutting of the tabs.
As always I managed to get through to the end, and hope to remember the lessons learned here for my next project!
Lessons Learned: Learn the oddities of your machine, and just because the spoil board has an edge, does not mean that is really X0 Y0!
Sharpen your tools, or wood just splinters!
Also, remember to recheck VBit angles, I noticed once I was done, that the VCarved Text was slightly out, meaning my VBit was not a true 90 Deg bit.

Vectric Ltd
Precision House
2 Arden Road
Alcester
B49 6HN
Registered in England Number 05382596
VAT Registration GB115123072
Privacy Policy |
Cookie Policy |
Terms and Conditions



