As a newer member of the Vectric team and a new user of CNC machines I am interested in creating small practical projects to be useful about the house.
This Second Project is to make a new house sign, which proved a bit more complicated then first anticipated.
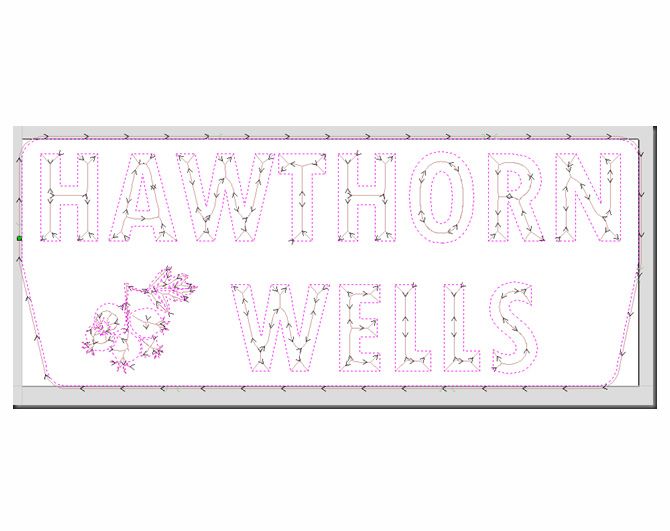
The design for the House sign was to be quite simple, some strong text and a small graphic to be V-Carved and a simple outline to be profile cut.
I had experimented with a number of extra frills and patterns to add more detail to the piece but after many tries and testing each one in the Toolpath Viewer, I decided that there was some simple elegance to the final design.
It needed to tell visitors the name of the house, nothing more, nothing less.
I had also not decided on the mounting options so this was not considered during the CNC stage.
Once I have set the sign will be mounted on the house, I can add some drill holes at a later date.
I was pleased with the design and keen to get cutting.
Unfortunately I then made my mistake with this project.
The piece of wood I was planning to use for this was an old piece of recovered wood, I measured it up and assumed it was a square piece and fixed it to my cutting table. Its actual dimensions were 24” x 23” x 1.25” and I had only measured the 24” and 1.25”. Big mistake and decently one I would regret later. Measure twice, then measure again and cut once!
I designed my part to fill the width of the 24”, generated the GCode and got to cutting. As I got to the N however it was clear I have made a mistake.
With my mistake made, I went back to the drawing board in VCarve Pro 7.5 and used the Design Scaling to shrink the entire job to match then new, smaller, space I had to work with to get my sign into. I then re-measured everything just to be sure this time.
Now with my slightly smaller sign (22” x 8,75”) I got back to cutting and had much more success.
1. Making a note of the XY position before I start, so I can re-zero the bit if needed, always a good idea!
2. V-Carving goes much better this time, with the N Clearly inside the available wood.
3. V-Carving done and time to change the bit!
4. Nearly there, just doing the profile cutout pass.
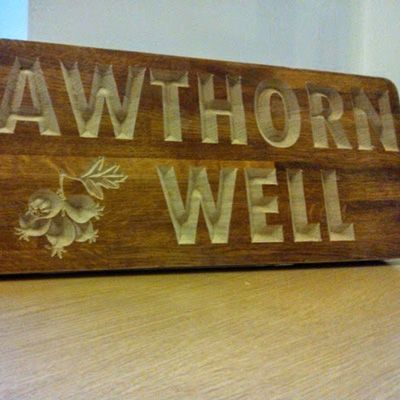
5. Now for the final clean up to remove the tabs, a quick sand and we are done!
So in conclusion, I have managed to create my sign, a little smaller then originally designed but looking good nonetheless!
Lessons learned in this project… Always re-measure everything twice!
Vectric Ltd
Precision House
2 Arden Road
Alcester
B49 6HN
Registered in England Number 05382596
VAT Registration GB115123072
Privacy Policy |
Cookie Policy |
Terms and Conditions


