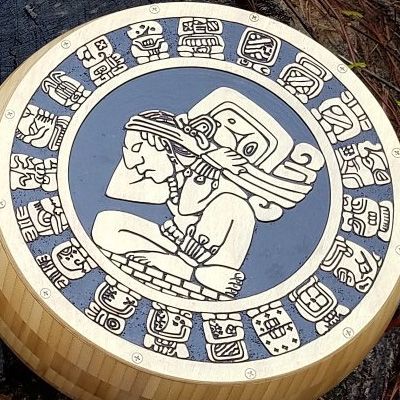
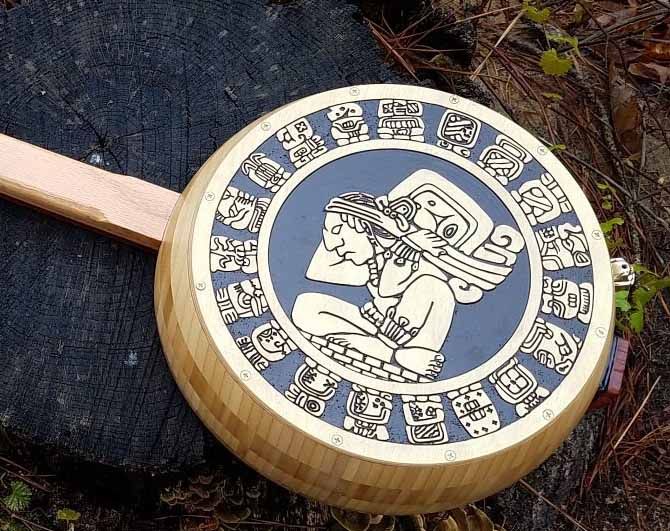
After 20+ years working with CNC software I had amazingly never had a reason to cut the “Mayan Calendar” design which many people carve as one of the first CNC items they make. A few weeks ago that all changed when my 10 year old daughter had homework on the Mayan’s and their calendar.
I figured maximum brownie-points could be gained by carving one and her taking it into school so they could use it while covering this topic. So on the Sunday afternoon we headed into the office to make one…
I figure so many people cut this design that the vector files to make it would be easily found, alas that was not the case all the things that turned up in my search were unedited so would have needed a lot of work to clean up. Then I remembered I’d seen one of the Vectric Forum users – “CarveOne” cutting this a while ago and that he’d posted the file. Checking out his website I saw a download section and was able to find just what I was looking for (plus a bunch of other cool stuff) – you can see what he has here: Carve-One Downloads.
So working with my daughter (image right – safety glasses and ear-defenders on) we downloaded the files and opened them in Aspire (although working with the DXF this could be done in VCarve). Looking in the material stocks in the Vectric Lab we saw some butcher-block style discarded wooden kitchen counter top. This looked ideal to make a nice thick version that could be taken to school and survive interaction with the kids for years to come!
I explained how the CNC Router worked to my daughter, talking about the fact it was basically a robot and how it was controlled with X, Y and Z numbers to position the tool in different places that it would move between.
Next we went into the software and setup the toolpaths. I wanted a nice flat surface to V-Carve into so the first toolpath was with a surfacing bit to make a flat plane bigger than the calendar (17” diameter). Then we just V-Carved the graphic with a 90 degree V-Bit (0.75” diameter) also using used this to chamfer the edges and then cutout with a 0.25” end mill. My daughter really thought it was cool when she saw the 3D preview and how it was generated from the lines of the toolpath. At this point she was still not sure how the machine would cut it but you could see her interest in what was next.
So we headed down to the machine and I explained how we had to load the tool and tell the machine where its starting place was which would then reference everything from the computer file into the real world. Next we cut the pocket to flatten the material (and remove the finished surface). While it was cutting my daughter worked on a tracing of the calendar which was also part of the homework. Once the material was surfaced we ran the V-Bit toolpaths to carve the graphic and chamfer the edge. Then changed tools again to cut the part out – using tabs to hold it in place. As it was cutting my daughter kept coming over to look and thought it was really near how it was carving out the same design she’d see on the computer screen earlier. Having removed the tabs we took it home, gave it a few coats of shellac and some light sanding/wire brushing to give it a bit of a finish and seal it. On the Tuesday my daughter took it into school and collected all the plaudits. While it was cool making it for the school, the really cool part about this was my daughter seeing how the CNC worked and understanding the process of how it goes from design to manufacturing. I look forward to working on other project with her in the future!

Vectric Ltd
Precision House
2 Arden Road
Alcester
B49 6HN
Registered in England Number 05382596
VAT Registration GB115123072
Privacy Policy |
Cookie Policy |
Terms and Conditions



