If you’re a member of the Vectric Forum its quite likely you would have seen the work from Aspire user ‘customquint’ or as known in the real-world Brian Quinter. Brian is a master sign maker from Piqua, Ohio where his award-winning company Quint Creative Signs use Aspire as an integral part of his creative process and manufacturing. For this month’s case study, we got in touch with Brian to learn more about how he creates such textured and clean signs. But of course, before we head into his technical process, we had to find out how he got into CNC machining…
I was a service tech working on printers, started the sign business part-time doing cut vinyl with a vinyl cutter. I was laid off this job on my 30th birthday and went full time the very next day with my sign business. As my business grew, I liked doing different 3D elements with custom cut out shapes and layering them and was doing it all by hand. Cutting with a jig saw, router table and some tricks with a circular saw. A CNC was out of my budget and the direction I felt I had to go was to add wide format printing into my business. I had the opportunity grant from the City of Piqua with a low interest loan to help expand my business. We used this to buy our AXYZ Router and our first copy of Vectric Aspire. The first CNC I saw was at my first Sign Trade Show in 2004. I knew then at some point I would want one. Within our first year, one of the signs we made with the router won 1St place in the annual United States Sign Council Design Competition. This just made my drive and passion to make even better 3D signs.
Ever since we started ‘Quint Creative Signs’ we’ve not really changed our machinery. Alongside my vinyl cutters, wide format printers and laser cutters/ engravers; I have my AXYZ Z7 CNC Router. This is still the same machine that I have had from back in 2000 and still does the job to this day.
When it comes to software, depending on what job I have it can vary. All my work typically starts off in Coral Draw. If I am only doing a vinyl cutting project then I use FlexiSign to run my vinyl cutter. Every other sign work job I have I use Aspire, this is used for all of the parts of our 3D signs including our texture panels and letters.
It’s great to see how Aspire and Brian’s CNC machine is a key part to his design and production workflow. Let’s take a look at some of the details of how he uses his CNC and copy of Aspire…
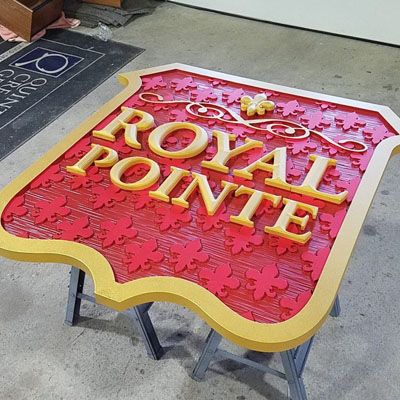
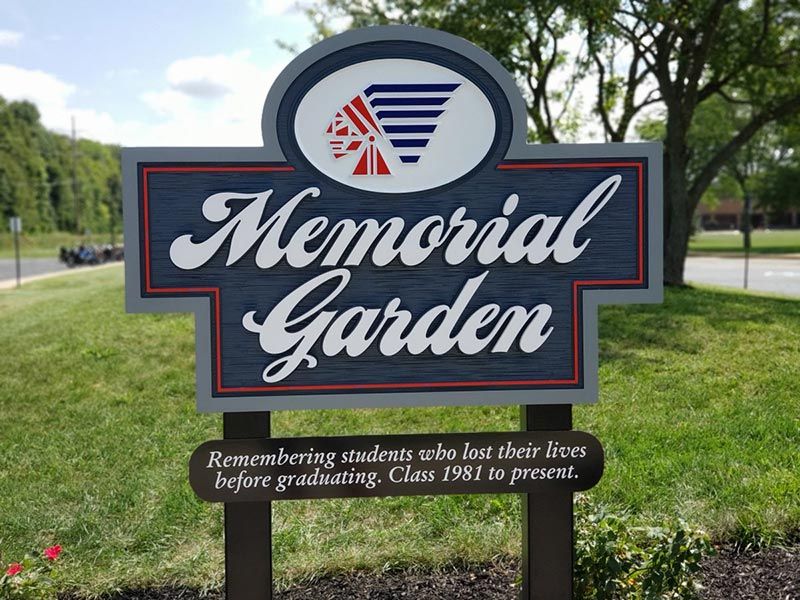
We make 3D carved and painted signs, for both retail and wholesale. We offer two types of background textures, one is a basic wood grain and the other is a much more realistic woodgrain effect.
We use the texture toolpath tool for our basic wood grain background and run the signs as 2D toolpaths. I love the texture toolpath because it makes everything from the design and toolpath generation to the cutting seamless. The toolpaths for these signs can be ran pretty fast with our CNC.
Our super realistic style is where we use bitmaps to create a unique textured background, typically it is a wood grain texture. We use images of wood grain and some images we created to produce textured components, then bake them together as one component. I can’t tell you how awesome this feature is, it allows us to create some really unique texture easily. Our 2D toolpath signs can run pretty quick. Some take 1 to 3 hours to CNC. On the flipside our super realistic signs take much longer, some can take up to 12 hours to machine.
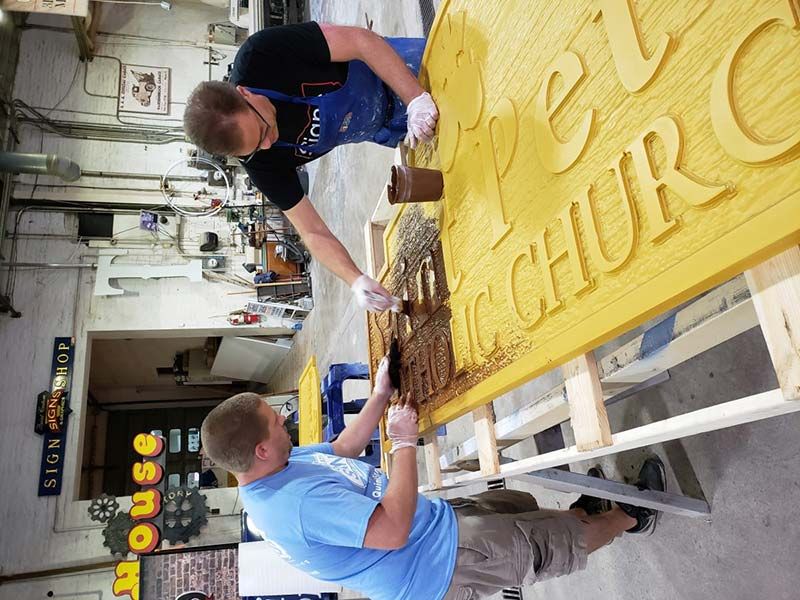
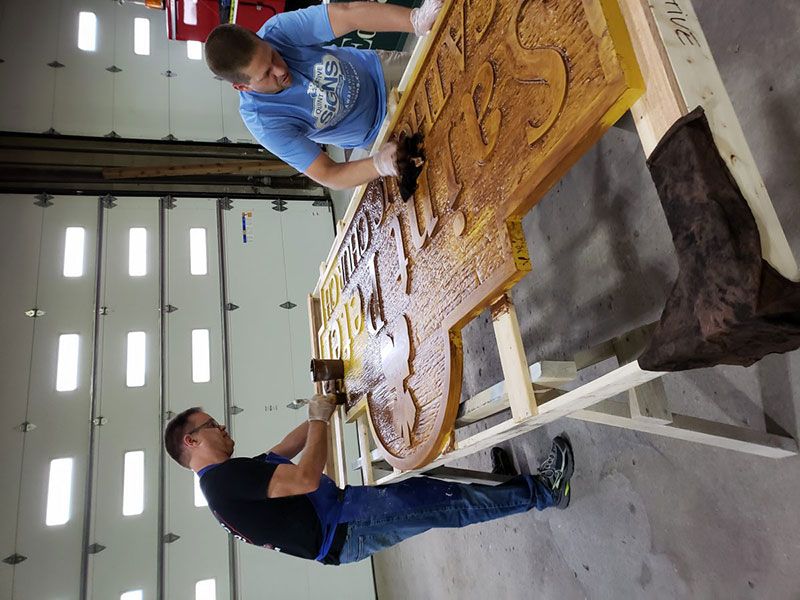
Material wise we use high-density urethane (HDU) for almost all our 3D carved and painted signs. It’s a great material to work with especially when it’s time for the finishing. Priming goes pretty quick, we spray the printer coat. When working with HDU, always prime your project before you paint as this will give a better paint finish. We also typically spray the background colour coat too but then all the other paint work is done by hand.
We typically have set tool bits for different parts of each job. For example, we create all the textures on panels or letters with a 0.25” ball nose bit (small signs we might use a 0.1875”). All the flat cutting and pockets, clean up around letters with a 0.1875” or 0.125” end mill. We do our final sign cut out with a 0.25” end mill. If we ever have any bevelled edges or v-carving to do then we use a
v-bit and this size can be varied… we have a few different bits around the shop.
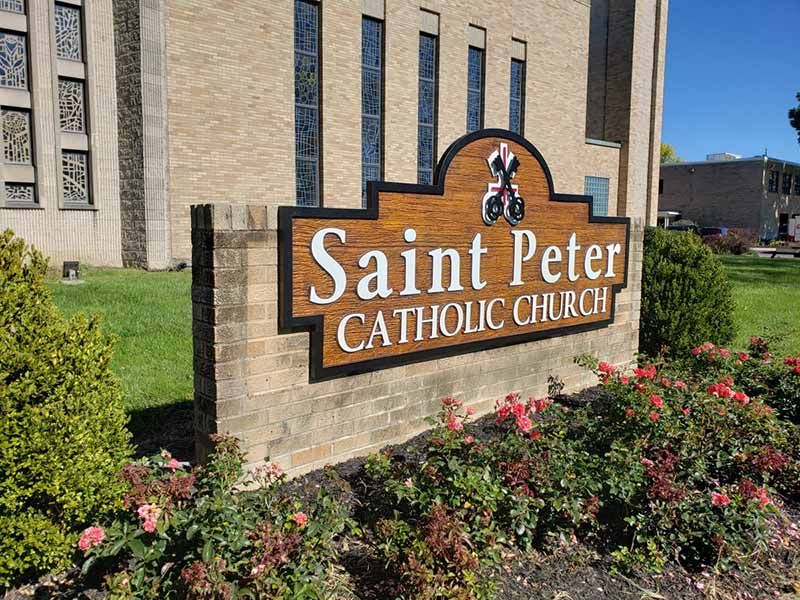
We always try to find new ways to either speed our production up or find tricks to make our signs look cooler – sometimes by accident. For our Bradford Fire Dept sign, we ran the toolpath around the letters to clean the edges after the texture toolpath was too deep into the material, it created a really cool added look to the depth of the letters.
This case study shows that even award-winning craftsmen like Brian Quinter are always looking for ways to improve their work and it’s great to see that Vectric software is allowing them to enhance every project. We would like to take this opportunity to thank Brian for taking time out of his busy schedule to share some of his knowledge with all of us. Before we let him get back to work, we wanted to know what the future held for Quint Creative Signs…
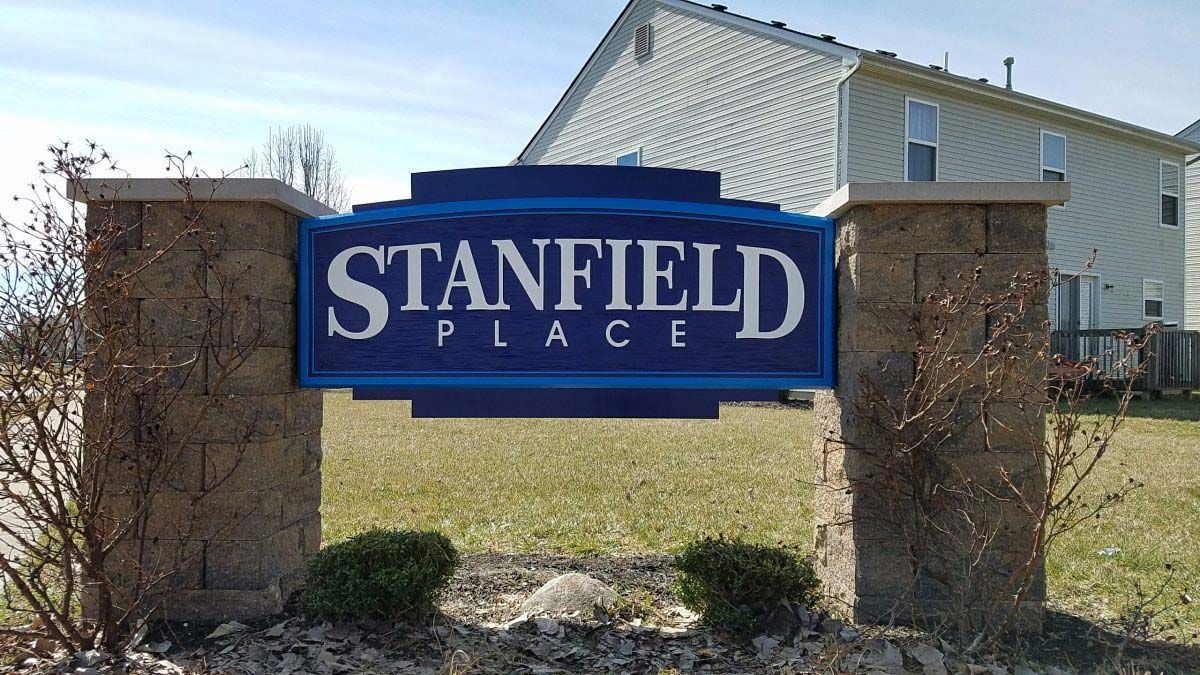
Currently we’re working on 3D carved and painted projects. These are for a housing development entrance sign, new signs for a local bank’s new downtown location and new park signs for another local community. We also are working on some bank signs for a wholesale client.
The goal for the future is that we hope to continue to grow our 3D carved and painted sign business both on the retail side and especially in the wholesale side.
Vectric Ltd
Precision House
2 Arden Road
Alcester
B49 6HN
Registered in England Number 05382596
VAT Registration GB115123072
Privacy Policy |
Cookie Policy |
Terms and Conditions


