After a short Hiatus, I have gotten my hands on a few pieces of fresh cut wood, from a nearby wood that was being thinned.
I wanted to add a small design into it for my third project as a fun experiment with more traditional wood and 3D Carvings.
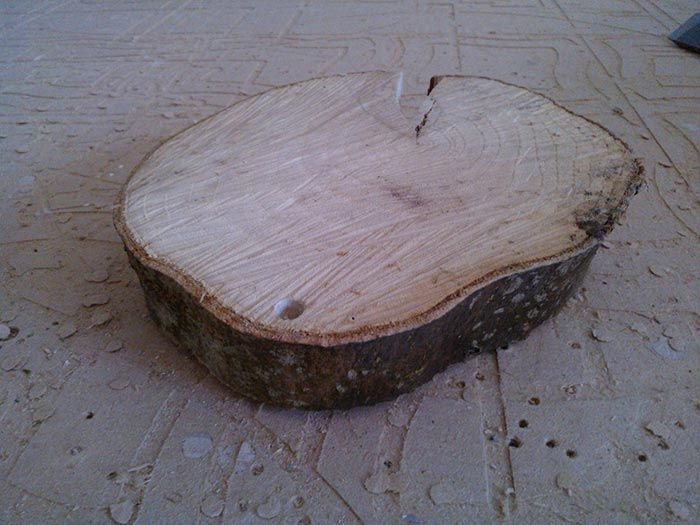
After I got the wood I was advised that I had to let it dry slowly and naturally to allow it time to relieve the internal pressures after being cut down. Taking this, I thought the best place to do this would be my window ledge.
As you can see, the drying could possibly gone better, particularly as the small crack in the side of it began to grow day after day.
The second main challenge was trying to work out how to hold it down to the machine.
We don’t have any real clamps or pins that would be able to hold onto the wood, and its irregular shape makes it hard to try to make a pocket to fit it into.
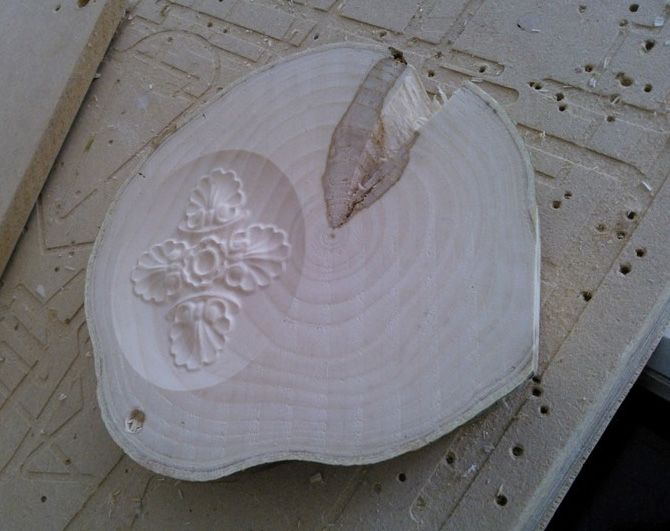
After trying to wedge it between 3 pieces of screwed down MDF, I was advised that screwing a piece of MDF to the back of it, with the screws in the back would allow me to screw the MDF directly to the machine bed without leaving screws going in from the top.
With it firmly attached to the bed I could now plan how I was going to carve the piece.
The first job was to flatten the wood off so that it could be carved.
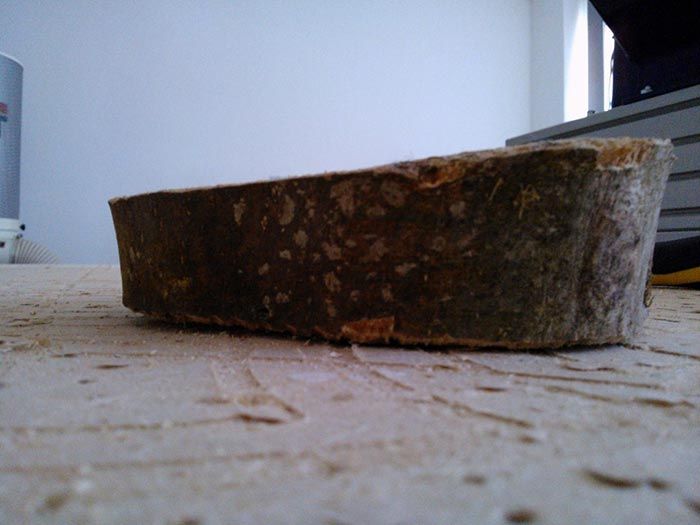
Its rough size is 6” x 5” x 1”~1.3” and so need this thickness made uniform. This was a simple process to do with a rectangular pocket toolpath cutting only 0.1” at t a time and a 0.5” End Mill. Each time I ran it I would drop the Z0 on the machine by 0.1” which allowed me to rerun the same program over and over to slowly level out my wood. I also angled the direction of the cut to follow the split in the wood to try and reduce the possible stress on the wood.
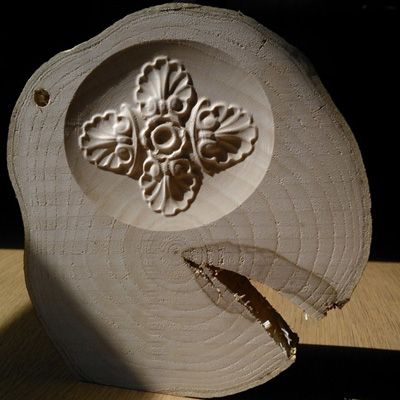
With it now nice and smooth, I measured up the usable space avoiding the large split in the wood. I wanted to avoid part of the design being lost in the split. This gave me an area about 4”x3” to work with and about a depth of about 0.5” before I would risk hitting the screws that are coming up from underneath.
I entered the Job size into VCarve Pro and set the Origin point to the centre of the work piece, as it was easier to locate the centre of my carve area with the CNC machine then an offset point in the bottom left corner. Then I browsed though my Clipart Library I had installed from the Vectric Portal and picked out a lovely moulded leaf pattern. It was the work of a moment to drag and drop it into the 2D view, centre it by pressing F9 and then using the scale tool to get it to fit the job area correctly.
Then I applied a 3D Finish toolpath with a 0.125” ballnose bit set to 10% step over and exported the GCode.
Then 30 minutes later the machine finished and I could unscrew my finished piece.
I’ve not decided what to use for the finish coat or how to seal it but I would be interested to hear everyone's suggestions. I would also be interested to hear if anyone thinks that adding a few cable ties around the wood while drying will make a difference. I will be trying it on my next try once I have gotten hold of some more tree!
Lesson Learned: Drying Fresh wood is actually quite tricky, it needs a long time and should be done as slowly as possible. Some wood is just going to split though! This project was more about working with a different material then any actual troubles in the software or machine.
Vectric Ltd
Precision House
2 Arden Road
Alcester
B49 6HN
Registered in England Number 05382596
VAT Registration GB115123072
Privacy Policy |
Cookie Policy |
Terms and Conditions


