
"Big and huge, small and fiddly", this is how Jamie Oxenham, founder of Oxenham Design, describes the type of projects his company creates.
We last spoke with Jamie about his work and experience in CNC back in November 2011 when we published a case study about his 'Calico Don's Dive Shop' sign. Since then he has gone on to produce a variety of fantastic 3D fabrications such as the 10' Himalayan Yeti prop (right) that we discuss in this article. We also go on to showcase some of Jamie's other projects including a 'steam punk' themed sign for his new workshop and a 74" tall shark themed dispenser for Ripley's Entertainment. Jamie starts by telling us more about his approach to the 10' Yeti project he created for the world renowned photographer
Matt Barnes...
THE CHALLENGE:
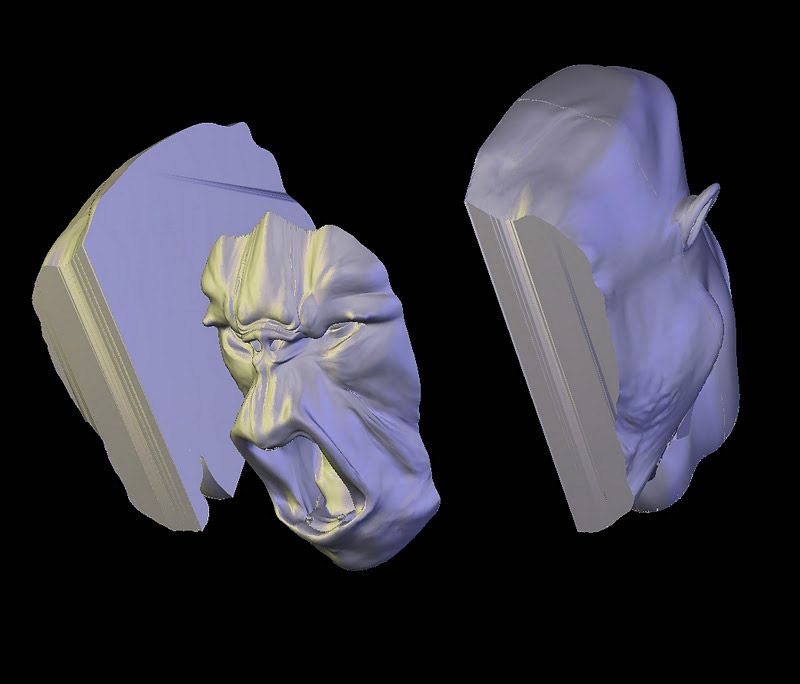
"Our most ambitious project to date has to be the 10' Himalayan Yeti prop; the ambitious part of this was the 3 day build schedule! Due to the time constraints we decided to purchase a 3D monster model instead of creating one ourselves. Fortunately the model we wanted was already rigged with bone structure, this meant it was a lot easier to manipulate the model to find the pose the client was looking for. By purchasing a pre-rigged model we were able to shave a week off what it would normally take to model and pose this sort of character."
PREPARING THE ARTWORK FOR MACHINING:
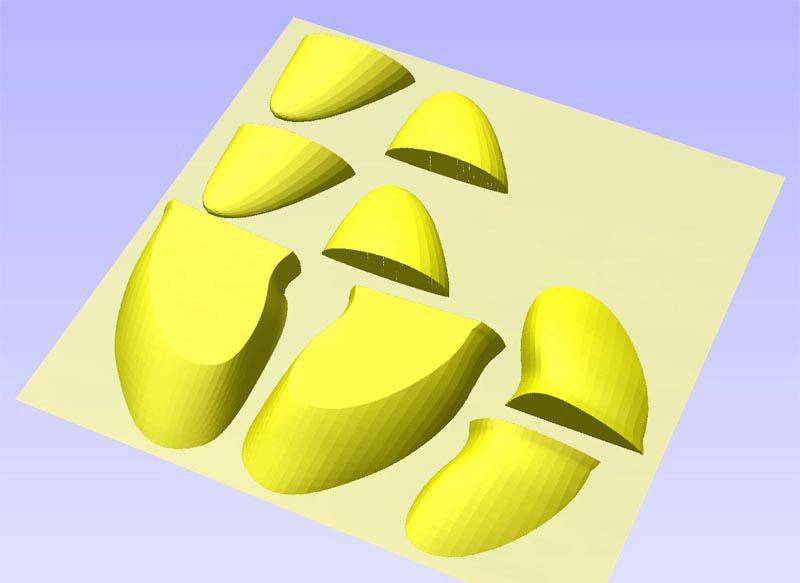
"After we finalized the digital model it was broken into various body parts using a full 3D modeling package so it was ready for machining - this is when the real fun began."
"By using Vectric's Aspire software to generate the toolpaths we were able to utilize the fantastic slicing feature available within the program, without this we would have easily spent a few more days, in any other modeling program, getting the files 'cut ready'. I also love the convenience of being able to limit tool-paths to vector boundaries. The ability to limit our toolpaths on the Yeti project with our servo-driven Techno CNC, directly resulted in a machine time saving of 6 hours!"
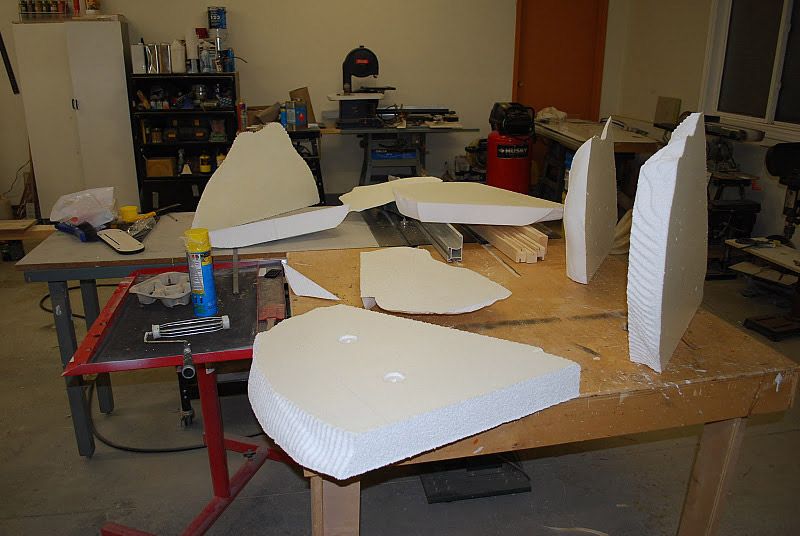
"In large layer machining the biggest time killers are the flat areas where the layers stack and the extreme vertical edges that represent the undercuts. By being able to limit the tool to avoid these areas the savings were exponential, especially when you're going to run a cut out pass anyway. Once all the toolpaths were generated and ready to go, we machined this huge figure out of type 3 styrofoam."
ASSEMBLY:
"The layup of the final pieces was very straight forward. We decided to use water-based contact cement for its strength and also due to the fact that it doesn't attack the styrofoam. For very thick layups, we drilled extra holes and injected expanding foam into them with threaded rod. This allowed a 'core' of urethane glue to help with the adhesion."
THE FINISH:
"For the finishing hardcoat on the model, we used white glue mixed with plaster. This was applied then hand smoothed to cover the beaded look from the foam. We only had to cover the 'exposed flesh' areas as everything else was covered in 20 yards of fur!"
"All the fur was cut into strips and applied one at a time as opposed to wrapping it right off the bolt to add a more realistic look."
SUMMARY:
"By using great machinery, coupled with high octane software, we were able to finish this job in record time. From splitting the first model piece, to delivery, was only 3 days. After 2 visits to the shop, even the art director wants the software and a CNC, now that's remarkable!"
If you follow Jamie's blog, FromAspiretoBeyond, then you may have seen the Yeti blog post that details the entire production. For those that haven't then you can read about the progress of this amazing project HERE. The blog is regularly updated and covers many of the amazing projects Jamie has created prior to and following the Yeti. A few that caught our eye include a Steam Punk themed sign he created for his new studio 'The Institute' and the 74" Shark Dispenser that was created for a theme park. We go on to briefly showcase these creative projects that Jamie developed with the help of Aspire...
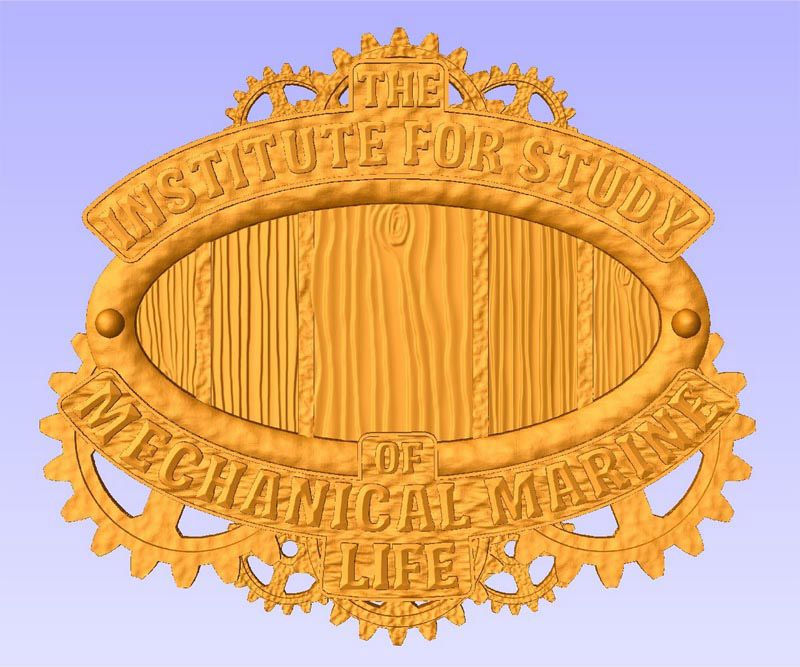
The Institute Sign
After recently deciding to move to larger premises, Jamie decided to create the 'Institute Sign' as a focal point for his new studio. The design was developed from hand sketches using a variety of software to create the final 3D models. The fish was developed in a surface modeling program that Jamie is very familiar with, the parts of the model are then imported into Aspire to finish them off, divide them into machinable pieces and create the toolpaths. The shapes for the main part of the sign, the text, the cogs and the texture were all modeled and toolpathed within Aspire.
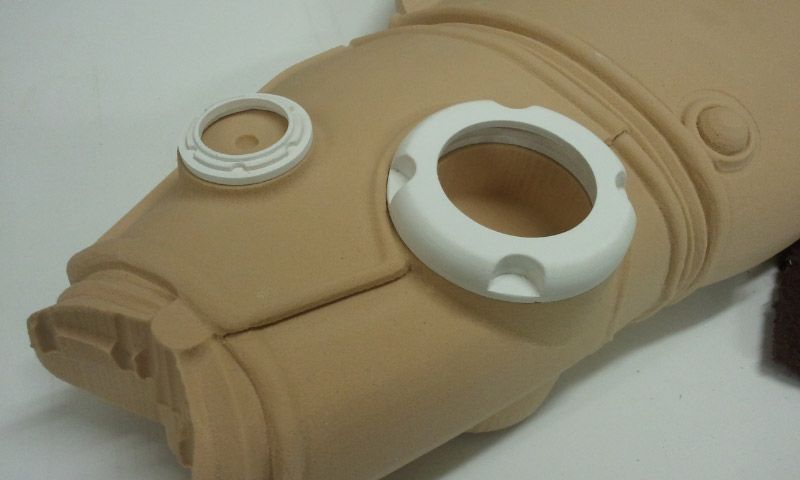
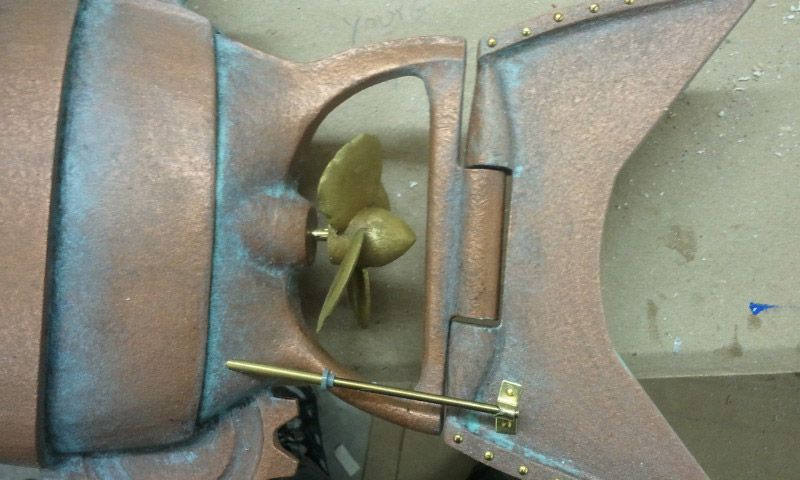
There is a high level of attention to detail in the work that Jamie creates, elements such as the side vent propeller with mesh screen, the rear propeller that boasts dings in the 'metal work' to give an aged/used feel, right down to the mechanical lever between the body and tail fin are examples of his commitment to making something special. This is complimented by the rustic 'cast brass' and corroded finish he applied to complete the 'Steampunk' feel. To finalize the project Jamie added the fish eye, he decided to spray the eye lens 'dirty green' and place a piece of chrome mylar behind it which would reflect light rather than install an LED. The final effect is striking to say the least. We're looking forward to seeing the sign installed in all it's glory at Jamie's new studio later this year.
You can follow the production of the Institute sign in Jamie's five part blog post:
Part 1, Part 2, Part 3, Part 4 & Part 5.
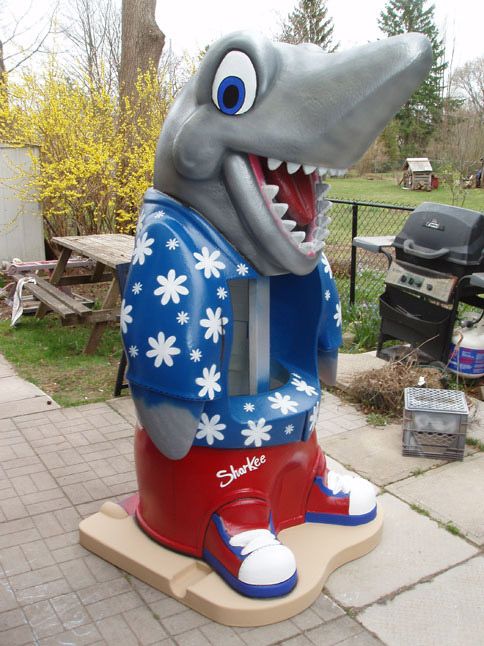
74" Cartoon Shark:
Another project Jamie started back in March was a 74" tall cartoon shark for one of the Ripley's theme parks. He explained that to get the piece ready for assembly he had to slice the finished model into 26 sheets of 3" type2 styrofoam. He decided to use type2 styrofoam for this job as he was conscious about the weight of the final piece given that once asembled another company was going to spray the shark with a 1/4" urethane hardcoat.
One of the most time consuming jobs for this project was dividing the model of the shark into machinable pieces. Due to the nature of the design this had to be done from different directions and then the parts exported to load them into Aspire. Once the sliced pieces were imported into the software Jamie used the 'Fit vectors to Bitmap' tool to allow him to quickly and very accurately apply machining boundaries to the top and bottom of each piece, doing this dramatically reduced the amount of time it would have taken to draw them by hand. When deciding what thickness the slices should be, Jamie had to consider a number of factors before machining such as the gantry clearance on his Techno CNC and also what tool to use. When it was time to cut the piece a 1/2" diameter tool was used so the cutter had room to rapid move above the material as well as cut through the whole 3" in one pass. This eliminated the need for a roughing pass, saving time in the software and on the machine.
"Remember the final scene in Jaws where Roy Scheider shoots the dive tank in Jaws' mouth, causing the shark to explode into tons of pieces? That's kinda what it looked like in our shop when we were working on this job!"
After assembling the final piece Jamie was ready to cut and add the teeth to the model (watch the machining video HERE). Once assembled the final piece only weighed 18lb before the finish was applied.
Again you can follow the seven part build log over at Jamies blog:
Part 1, Part 2, Part 3, Part 4, Part 5, Part 6 & Part 7.
We would like to thank Jamie for taking the time, out of his very busy schedule, to talk to us again about his work. Jamie is currently still moving into his new design studio, however his blog is as active as ever. To keep up to date with what Jamie is working on next visit fromaspiretobeyond.com.

Vectric Ltd
Precision House
2 Arden Road
Alcester
B49 6HN
GB115123072
Privacy Policy |
Terms and Conditions


