Sometimes we all need a challenge to conquer; well for Todd D it was to make a puzzle using his CNC. His aim was to test out what his CNC machine could do whilst also learning and challenging his own CNC skills. Making the puzzle had an added pressure and deadline as the final puzzle was not for Todd to use, but for his son’s 34th birthday present….no pressure there then!
Before we dive into the puzzle fun let‘s take a step back and find out what attracted Todd to the CNC world in the first place…
I have been a woodworker and cabinet maker for a long time, and I have been looking for something new to learn and I enjoy making things, so CNC seemed like a fun option. I have been doing computer design for working drawings for years and I thought I could learn it for CNC. It was a choice in my CNC purchase that it came with VCarve Pro as I wanted to use that program.
Excellent choice Todd! Now that we know a little bit more about Todd and why he started his CNC journey we can get back to the puzzle fun. Every idea starts somewhere; it might even happen without you realising it at the time! Todd explained to us where the idea to start making puzzles on his CNC came from…
When I saw the thread about making puzzle joints on the Vectric forum (https://forum.vectric.com/viewtopic.php?f=27&t=36079) I had a look and learnt that you could create the Vectors for a puzzle. This seemed like a good test of my machine and what I can make it do. This is all about learning and seemed a good challenge.
If you want to learn more about the Puzzle My Joint generator for yourself check out this page here: https://fabrikisto.com/tailmaker-software/ you will also find download links for a finger joint generator, maze generator and more fun things to try.
After doing some testing in the software and on the CNC Todd started to think about what he had learned from the test puzzles he had made. He began to piece together an idea of what could be achieved in the final puzzle and what material he was going to use…
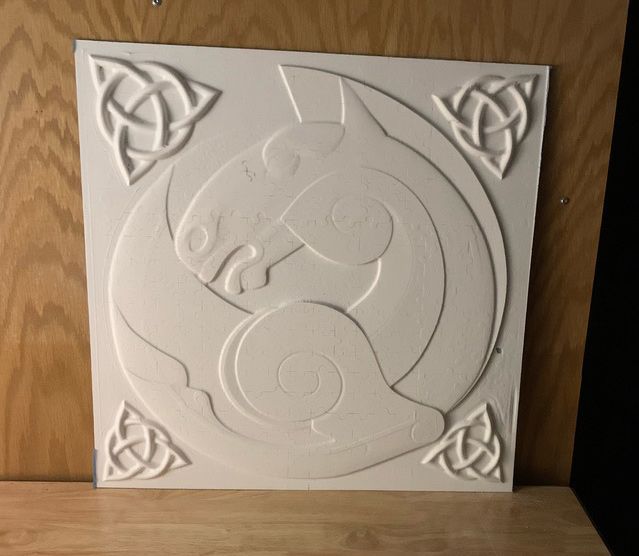
I chose the 3D design; it was a stylized horse model that I previously purchased and some Vectric clip art from VCarve Pro. Using a model in the 12mm Corian meant it had to look good only being 8 to 9 mm in the Z. The other designs I was considering did not look as good that flattened out. I am very happy with the Corian cuts and it’s stable for all these small pieces, maybe next time I’ll get some thicker material to get a deeper carving.
The beauty of the software is that you can size your job to the material you are using, then position your model(s) within the bounds of the material. Setup your toolpaths using the tools you have to hand and run the toolpath preview, which provides you with an accurate representation of what you would expect to see when you come to machine the part, which is exactly what Todd did here.
Todd set himself goals for each stage of the puzzle project so he could gauge where he was and ultimately get to his final goal (the puzzle for his son’s 34th birthday). For the design and toolpath phase he had a clear idea of what he needed to do…
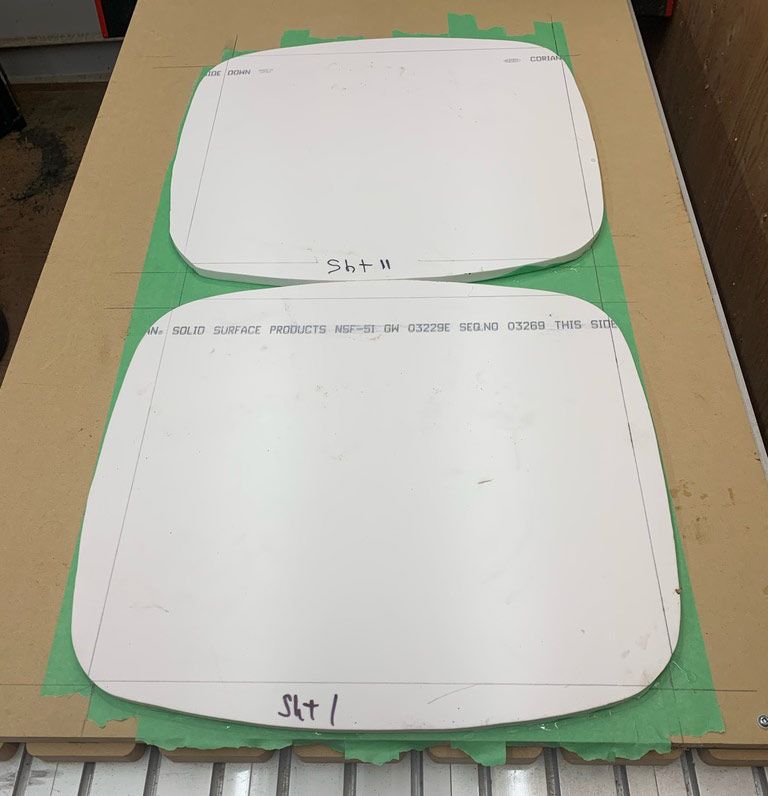
For this project, the mid goal was to have the puzzle blank cut and assembled ready to carve; but we need to start at the beginning.
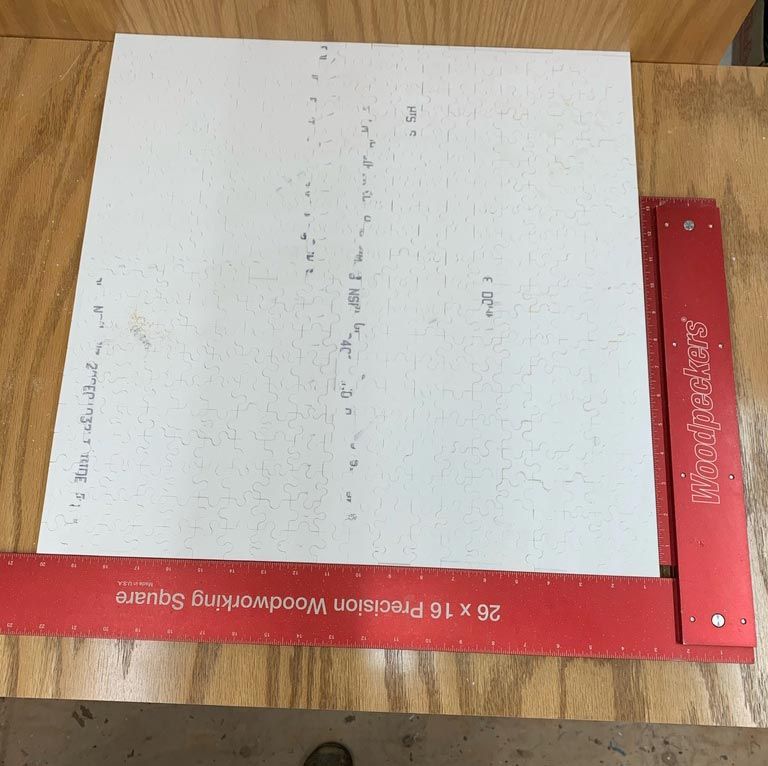
Once I had got the puzzle vector from the Puzzle My Joint generator I could then bring the puzzle vector into VCarve Pro and size it up to my material size (12mm thick and approximately 16x14”). The material I was using was actually sink cut-outs and a bit oversized in relation to my material size in VCarve Pro. I kept this in mind when lining up the vectors on my material so I could get the best results and not have to re-cut or stop the CNC due to it overcutting off the material. I had all this information in my head and a clear idea of what I wanted to do when opening VCarve Pro. This made it a lot easier to design and create my toolpaths in the software, and to make sure my plan was going to work!
To summarise, the steps to making the puzzle pieces are as follows:
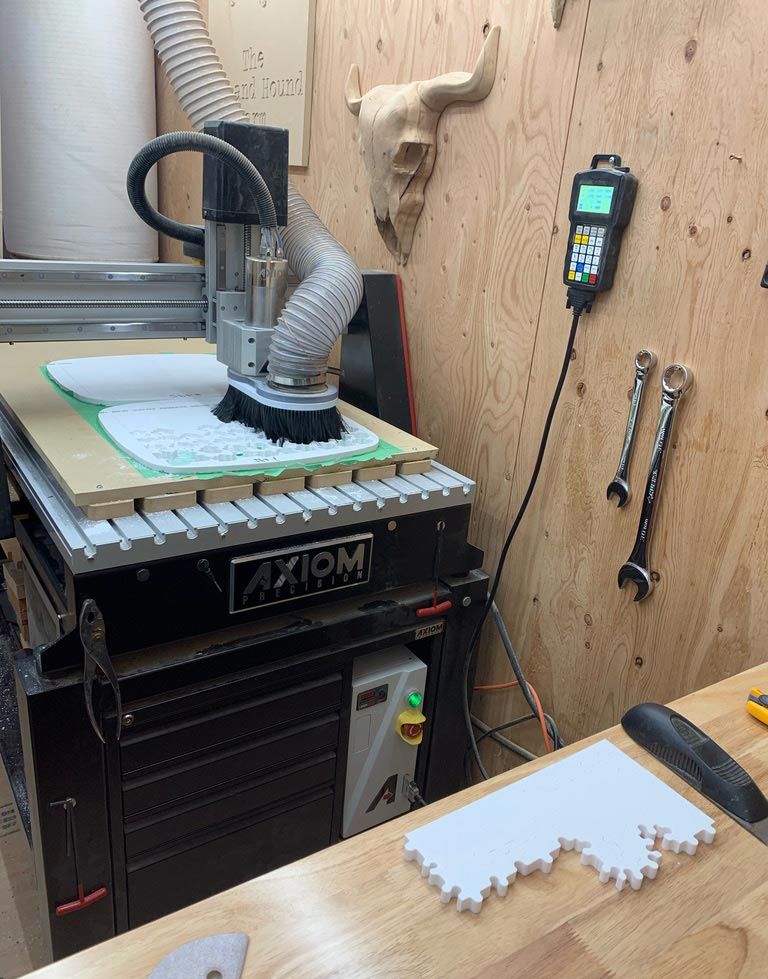
Cutting a project and seeing it come to life in the real world (not just on your screen in the software) is always a fun and exciting experience. Todd explained the cutting process he went through, along with the tools and toolpaths he used to do it…
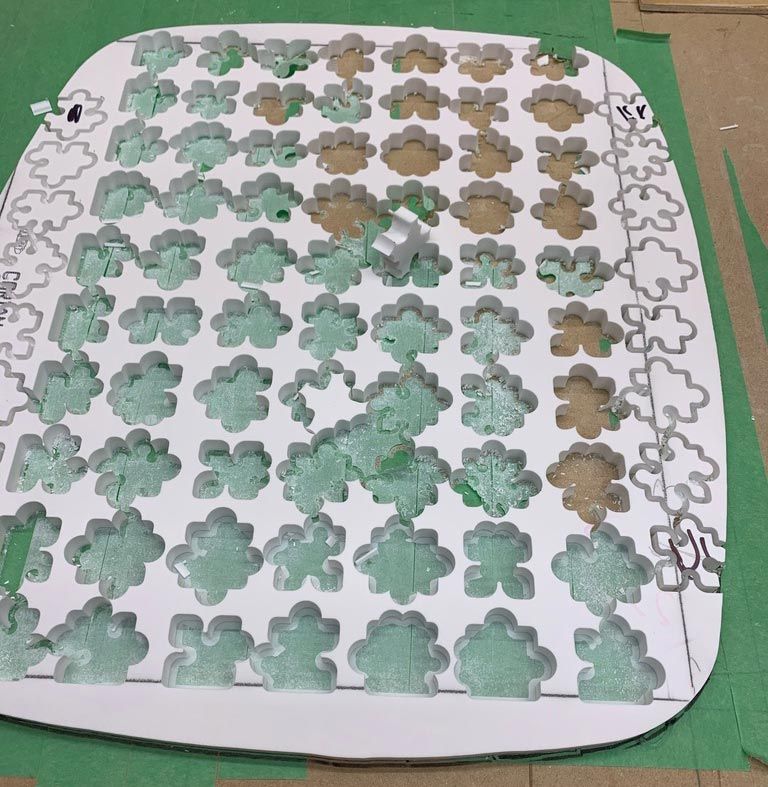
Cutting a puzzle is a 2-step process in that first you make a blank puzzle of pieces and then carve into that blank to finish the puzzle.
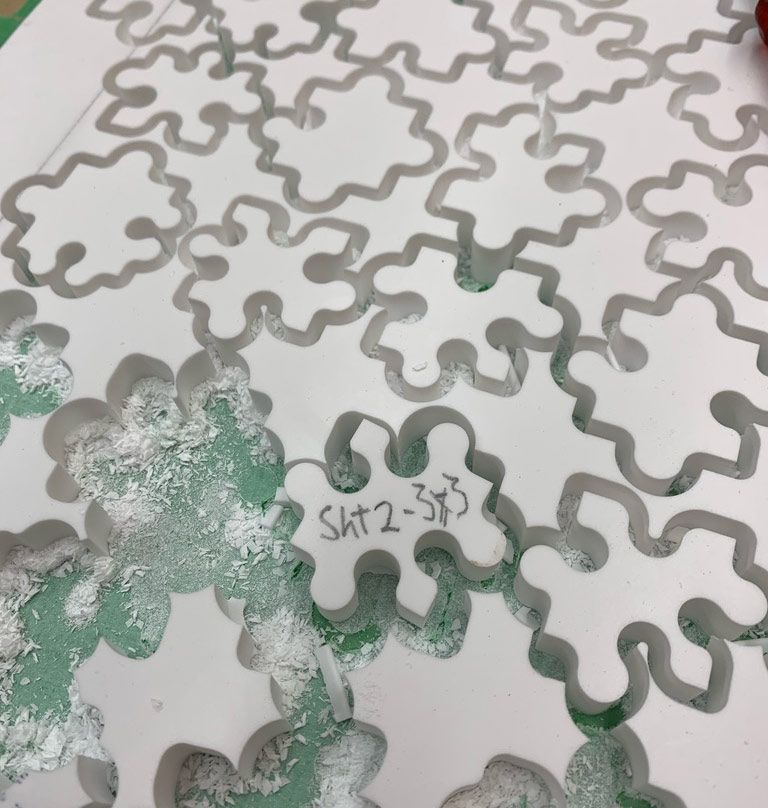
The 1st process is just cutting 2D vectors that fit together nicely, this required some testing and a negative offset (-0.05mm) of the profile tool path. Using a 1/8” 2 flute up spiral bit @8000 rpm with a depth of cut of1/16, @70 IPM, plunge 40 IPM.
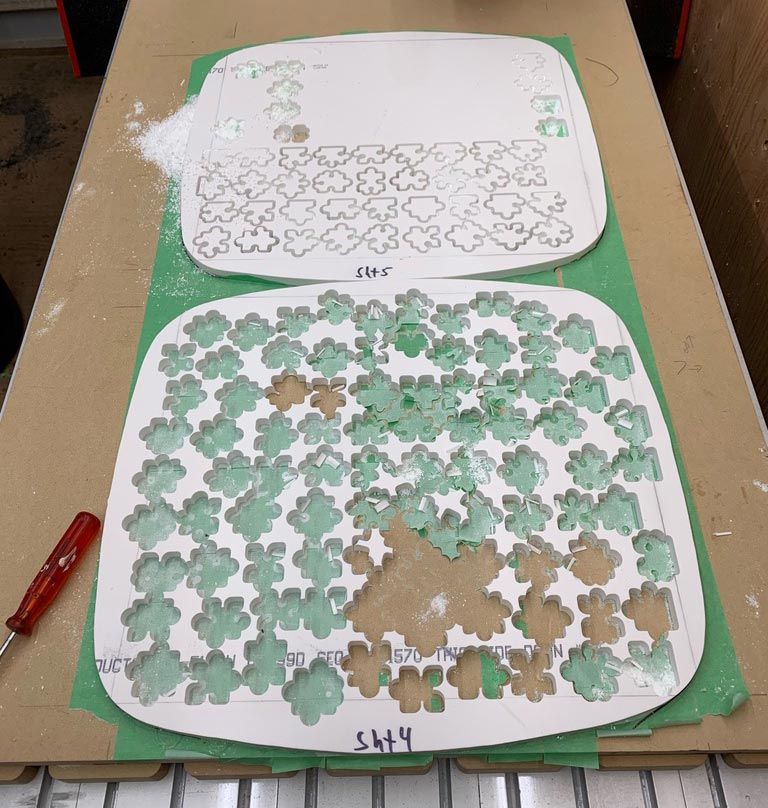
This went pretty well through two sheets. The pieces have no tabs, dealing with tabs on 400 pieces was not something I wanted to do; so this was the first job to use the tape and glue hold down method.
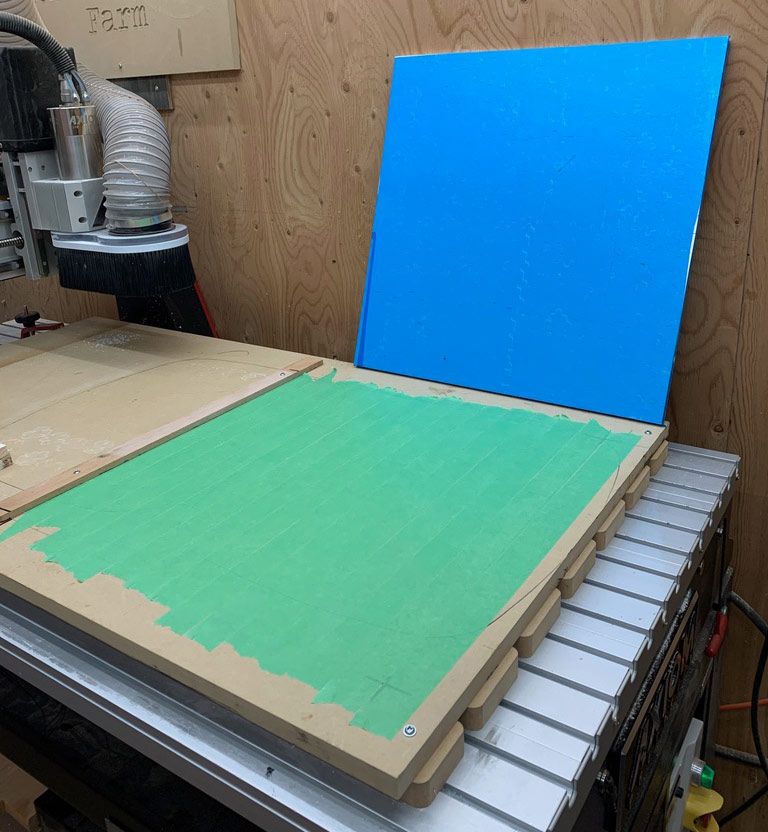
With all this in mind, I mounted the Corian on the CNC, masked both sides, and super glued it to the spoil board. I set the depth to 12.1mm and it just touched the first tape layer, the parts held in place quite well. The puzzle pieces seemed too heavy to go up the dust collector, however the smaller waste pieces could have caused some trouble if they had come loose. I had done some extra room on sheet 5 so decided to do some extra pieces to replace any broken or unusable pieces from the other sheets!
To make it easier for myself I directly assembled the puzzle as the pieces came off the machine, all 5 sheets of them.
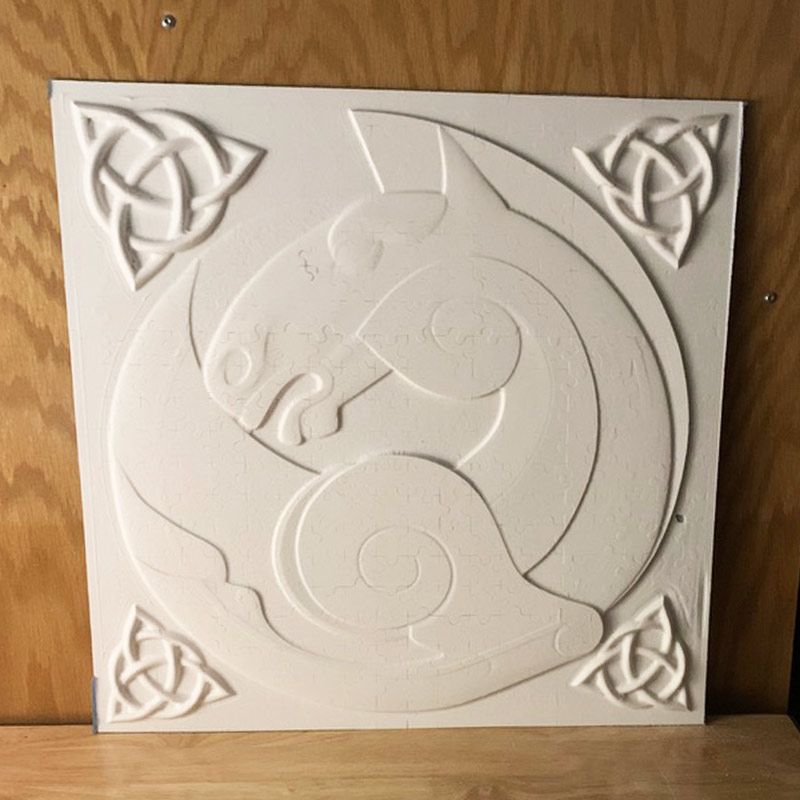
After I had all the pieces cut and assembled into the puzzle block, I was ready to mount it back onto the CNC and carve the puzzle. I had made up 4 different models to choose from to cut into the 500mm x 500mm puzzle block… Once I had decided on one, I went about carving it on the CNC!
The final cut project was a total of 400 pieces in the 12mm Corian measuring 500mm x 500mm.
With Corian there is no real finishing to be done as Todd explained…
With this project it has no finish applied to add to the difficulty level of the puzzle, being solid white material, it should be a challenge. Some puzzle masters will scoff at the mere 400 pieces but the color and texture of the carve should offer some small test to complete.
Because Todd had done quite a few test cuts and puzzles this meant when it came to doing the final puzzle there were not too many surprises…
The Corian material worked really well; the profile cuts went great with nice snug fits. I did adjust the -0.05 offset to -0.09 after changing bits as they were too tight all of a sudden after the change. I kept testing all the way through, so it kept a good fit.
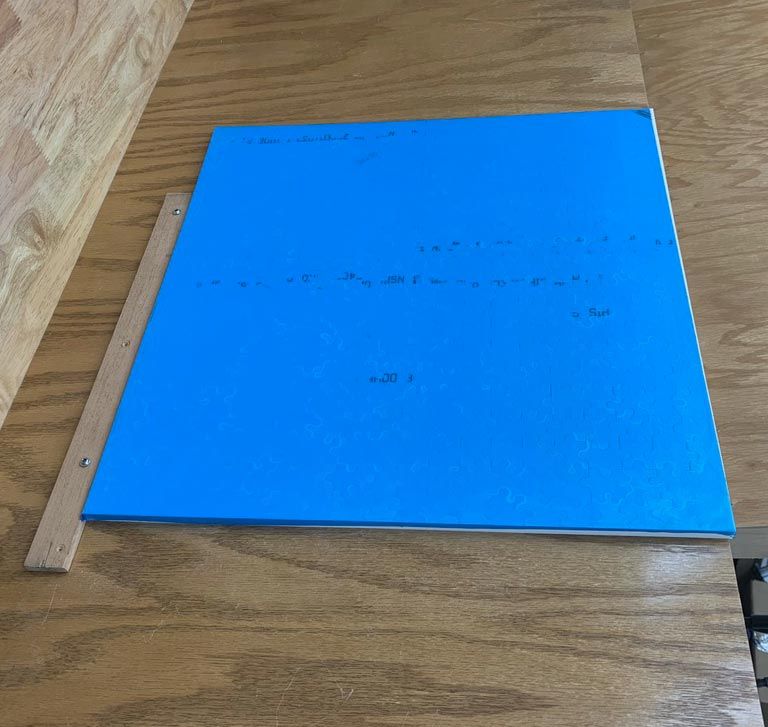
A challenge doing this is to avoid doing the puzzle while you are making it and keeping it organized so it is all in place. I removed each piece and assembled it right away to not mix them up. Once I had the assembled the puzzle I could then move it back to the CNC for final carving. I used Oramask film as masking and to hold the puzzle from moving. It worked quite well, and I could move it easily and mount it to the CNC with super glue again. What I did not know was the superglue makes the masking quite brittle so getting it off was a chore. I went for 6 or 7 episodes of Yosemite over 2 evenings getting the mask off.
If you are looking to do a project like this Todd gave us a few tips…
I was pretty happy with the speed the parts were cut out, I was not pushing too hard on the 1/8” bit to keep a good fit, I think the tip is to use your machine to find its sweet spot so that you get good repeatable results. A hands-on approach is so important to get in tune with your gear and know what works for you. I do make some mistakes at times which can be used for firewood but the next one is usually pretty nice.
Todd also pointed out that things can go wrong, and it is always good to have spare material and time to rectify any of those unforeseen hiccups that can come up…
Well, there is one more part to this one, during the carve on the finishing tool path of the horse, the ghost in the machine took it 8” in Y then 12” in X then proceeded to machine a design right through to the spoil board. Whoa.
Why that happened, static electricity or what I do not yet know, but this was a birthday present, so something had to be done. I went back to cutting the pieces again, a whole new top section 8 pieces high and a middle strip section. I was able to reassemble my blank with the mix of new and partially carved parts and redo the carve with new toolpaths. This went pretty well, and I made sure to keep my fences in place to relocate the repaired puzzle slab.
Steps for creating a puzzle yourself:
We cannot wait to see what Todd will make next whether it be more puzzles or other CNC projects!
We wanted to say a huge thank you to Todd for taking the time to talk to us about his Puzzle fun projects so that we could inspire our community to try something new. If you have a story you would like us to feature, please get in touch, simply email online@vectric.com. We would love to hear from you.

Vectric Ltd
Precision House
2 Arden Road
Alcester
B49 6HN
Registered in England Number 05382596
VAT Registration GB115123072
Privacy Policy |
Cookie Policy |
Terms and Conditions


