Here at Vectric HQ, we are always impressed by the projects made by our users. Patrick Coady’s JD Bottle project was one that stood out to us on the Vectric Forum due to the impressive detail and the finish. For this month’s case study, we caught up with Patrick and asked him about his background and how he got into CNC…
My name is Patrick Coady and I have been a Carpenter by day and Woodworker by night for the past 30+ years. My current position is the Finish Trim and Millwork Foreman with a Commercial Contractor in Upstate New York.
In 2017, Life changed when I was struck head-on by a vehicle while riding one of my motorcycles. I have a passion for the 1980’s Honda Superbikes. Broke quite a bit that day. Doctors advised that I would no longer be able to work the way I was accustomed to. I was now looking at the very real possibility of losing my Trade and my Craft.Un año después, empecé a buscar una fresadora CNC para mi taller. No tenía intención de hacer caso a mis médicos ni de dejar de trabajar la madera por las noches, ya que siempre había sido ahí donde plasmaba mis diseños. Tras seis meses de investigación, me decidí por la Axiom AR6 Pro con 4º eje. Luego, tomé la acertada decisión de comprar el software Aspire de Vectric. En ese momento, no sabía nada de máquinas CNC ni de Aspire. Simplemente la vi como otra máquina más para mi taller y, además, tenía bastante experiencia con la fresadora. :)
Avancemos rápidamente…Han pasado 3 años, mucho trabajo duro y fisioterapia, y por fin he empezado a retomar el trabajo poco a poco, tanto de día como de noche. Estoy encantado de incorporar Aspire y la CNC a mis creaciones.
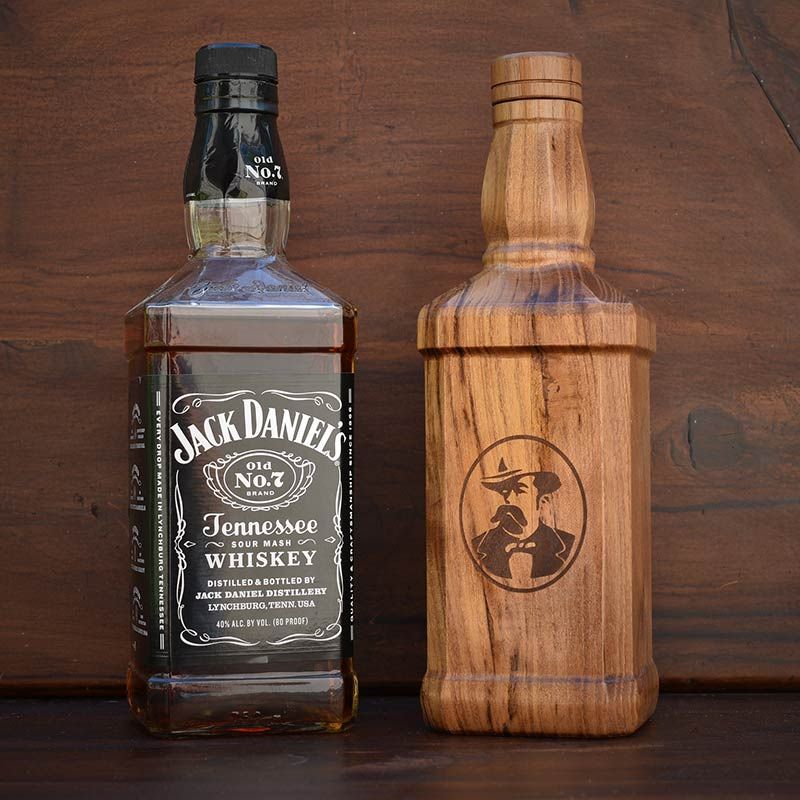
Queríamos saber más sobre por qué decidió crear la JD Bottle…My son’s 25th Birthday was coming up and I had been wanting to make him something special. It had been a number of years since I gifted him something I made. I was currently working on a smaller version of the JD bottle in the software and thought what a neat gift a full-size rendering would be especially if I could design it to be functional as well.
After coming up with the idea and getting the materials together, Patrick went to work planning and designing the project…
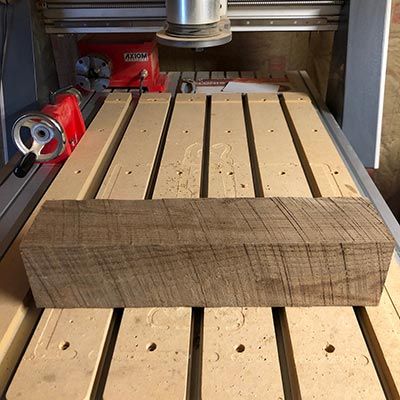
The material for this project came from a white oak 4x4 that was found in an old barn here in New York. More than likely 100+ years old. It was critical that this project is out of white oak as that is the wood used for the JD barrels.I had been watching the Modeling a Spindle for Rotary Machining tutorial over and over and started to develop a pretty good understanding of the techniques presented so I felt it was time to create. I happened to have a small piece of wood from a Jack Daniels barrel and thought how cool it would be to carve a JD bottle out of actual barrel wood. This went well and since my son’s birthday was coming up, I decided to try a full-size rendering as his gift.
I purchased a 750ml bottle of Jack Daniels and began measuring every detail on the bottle. I broke it down to 3 sections: the base, the neck, and the cap and used Aspire for all design work.
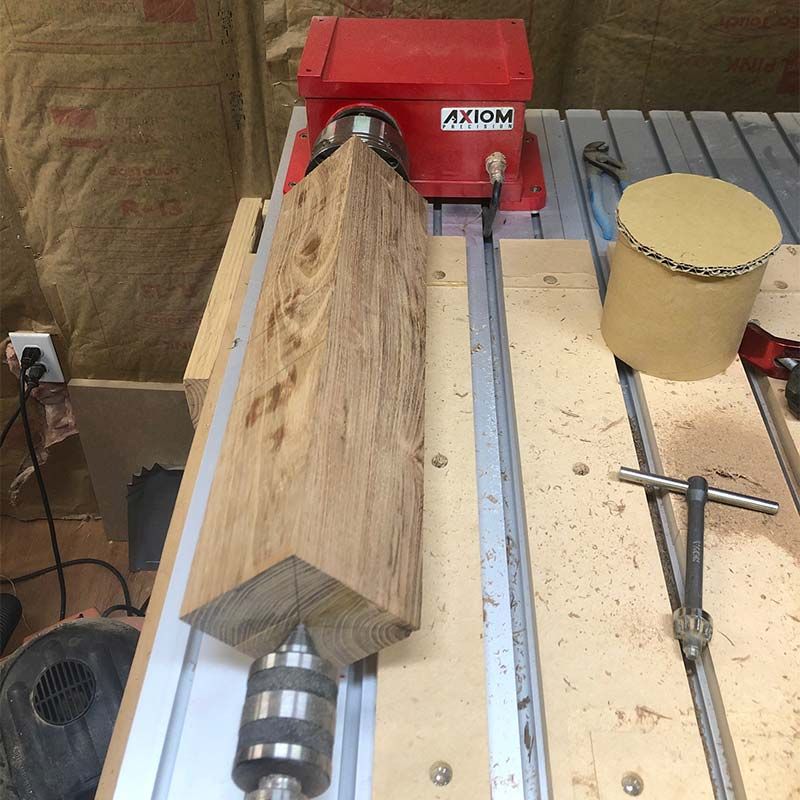
Patrick then went on talking about the toolpaths and cutting the project…I used quite a bit of different strategies to complete this. The process began with sizing, squaring, and planning the rough-cut section of the beam first. This was all done on the CNC as I have been challenging myself to complete as many woodworking tasks as possible on the CNC as opposed to my traditional shop machines.
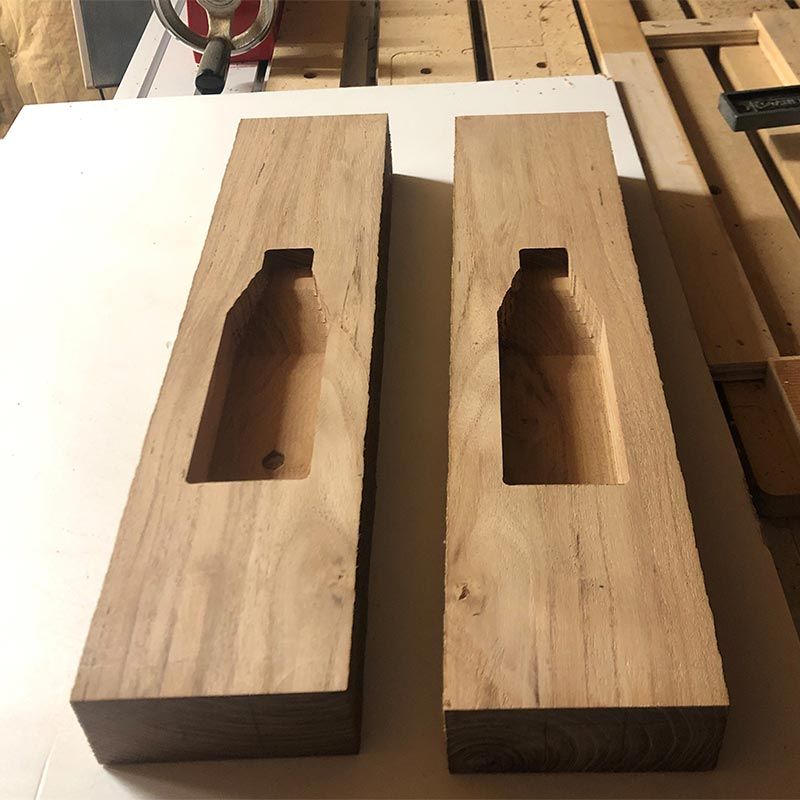
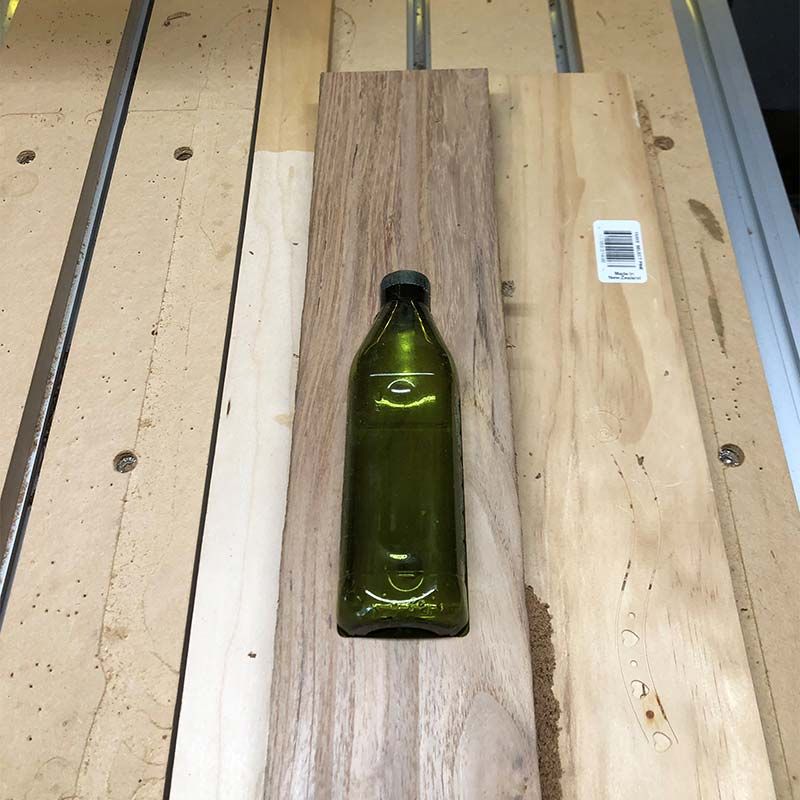
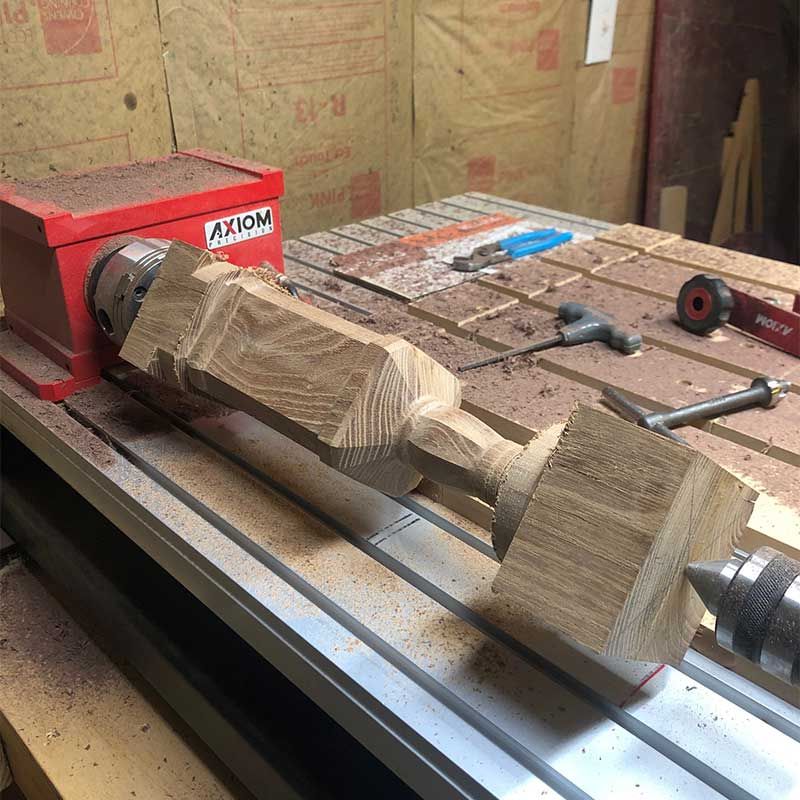
The next step was containment. I decided on pocketing a bottle on the inside and Aspire was very useful in this step. I measured and drew out a number of actual bottles inside the full-size vector profile of the JD bottle I had created so I could visualize how it would fit. After finding what was close to a perfect bottle to pocket in, I created a simple 3d model and milled that out in both halves of the white oak. Glued everything back together and then did a final sizing and planing on the CNC.El siguiente paso fue mecanizar el modelo de botella a tamaño real. Para ello, utilicé las técnicas presentadas en el tutorial: barrido de 2 raíles combinado con 3 secciones transversales desplegadas mediante la herramienta de desplegado vectorial. Tras algunas pruebas, me sentí seguro de que todo estaba correcto. Utilicé una fresa de punta esférica de 6,35 mm (0,25") tanto para el desbaste como para el acabado.
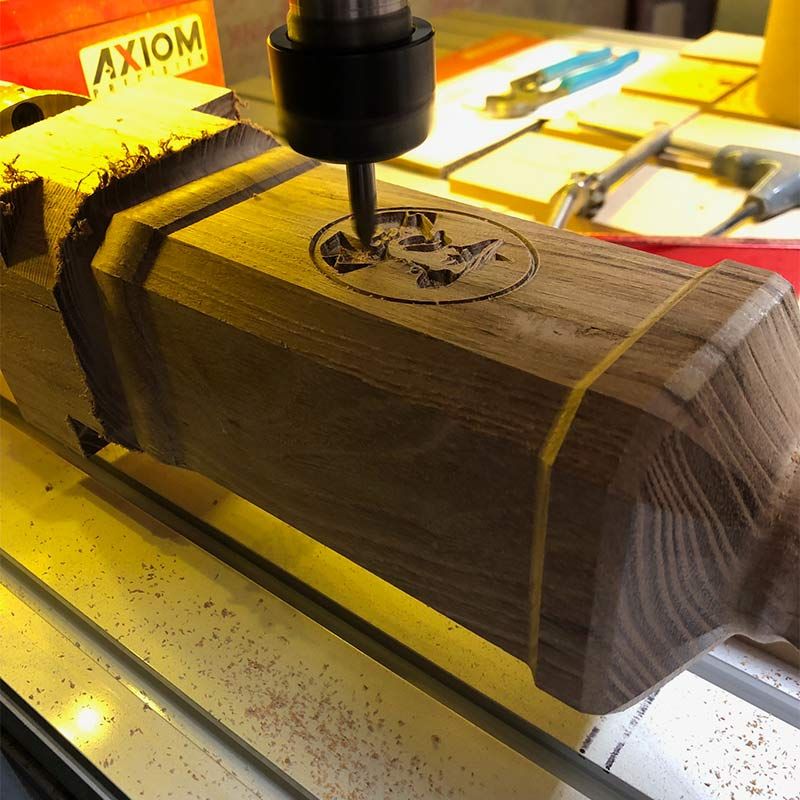
Una vez finalizado esto, era hora de trabajar en las incrustaciones. Ya había tenido éxito con el procedimiento de incrustación en V de Zanks, así que este paso fue bastante sencillo. Mi única preocupación eran los cortes hembra, ya que no iba a cepillar una pieza perfectamente plana. Prefiero usar la CNC para eliminar el material sobrante de las incrustaciones, así que mantuve la pieza en la fresadora rotativa de principio a fin. Las superficies planas no eran planas, así que, para hacerlo lo mejor posible, utilicé una fresa de punta esférica de 6,35 mm (0,25") y tomé lecturas del eje Z en cada borde mientras giraba el eje A hasta que ambos bordes estuvieran a menos de 0,1 mm (0,004") de la horizontal. Esta es la medida más pequeña que puedo ajustar manualmente con mi máquina.Después de pegar las incrustaciones, pasé la herramienta de acabado 3D por última vez para eliminar el material sobrante. Funcionó bien y apenas tuve que lijar.
Habiendo llegado hasta aquí, me preocupaba el paso final: cortar la tapa, insertar el corcho y taladrar un poco el cuello para acceder al interior de la botella. Todo salió a la perfección y obtuve un hermoso regalo único para mi hijo, que sabía que atesoraría por mucho tiempo. Tiene capacidad para 237 ml de whisky Jack Daniel's.
Patrick explicó el proceso de acabado y construcción del proyecto, reflexionando un poco.…
Lijé hasta grano 1200 y usé una mezcla de barniz al aceite para el acabado. Elegí este acabado principalmente por la textura de la pieza. Como se manipularía, quería que la madera tuviera una textura agradable al tacto.Todo encajó a la perfección en esta pieza. Creo que lo único que probaría diferente sería una broca en V de 30° o incluso de 15° en lugar de la de 60° que usé. Las incrustaciones son bastante pequeñas y finas, y me hubiera gustado que tuvieran más profundidad.
Luego le preguntamos a Patrick si tenía algún consejo para otros creadores.…
Siempre me recuerdo a mí mismo que las cosas bellas funcionan mejor cuando las diseño y creo.
El arduo trabajo de Patrick claramente ha dado sus frutos y se nota en este proyecto y, con suerte, en muchos más por venir. Antes de despedirnos de él, le preguntamos a Patrick cuáles eran sus planes para el futuro.…
Bueno, después de solo dos años con una máquina CNC y apenas comenzando a explorar sus límites, solo puedo decir que espero con ansias muchas más creaciones.Queremos agradecer enormemente a Patrick por dedicar su tiempo a hablarnos de su proyecto, lo que nos ha permitido inspirar a nuestra comunidad a probar algo nuevo. Si tienes una historia que te gustaría que publicáramos, ponte en contacto con nosotros escribiendo a online@vectric.com. Nos encantaría saber de ti.
Vectric Ltd
Precision House
2 Arden Road
Alcester
B49 6HN
Registrado en Inglaterra Número 05382596
Número de IVA GB115123072
Política de privacidad |
Política de cookies |
Términos y condiciones


