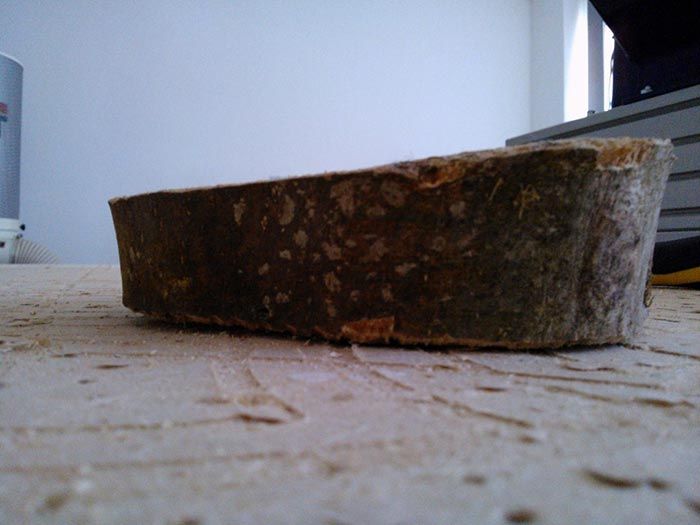
Après une courte interruption, j'ai pu me procurer quelques morceaux de bois fraîchement coupés, provenant d'une forêt voisine en cours d'éclaircissage.
Pour mon troisième projet, je voulais ajouter un petit motif, histoire de m'amuser à expérimenter avec le bois de façon plus traditionnelle et la sculpture 3D.
Après avoir reçu le bois, on m'a conseillé de le laisser sécher lentement et naturellement pour qu'il puisse se détendre après avoir été coupé. J'ai donc pensé que le rebord de ma fenêtre serait l'endroit idéal.
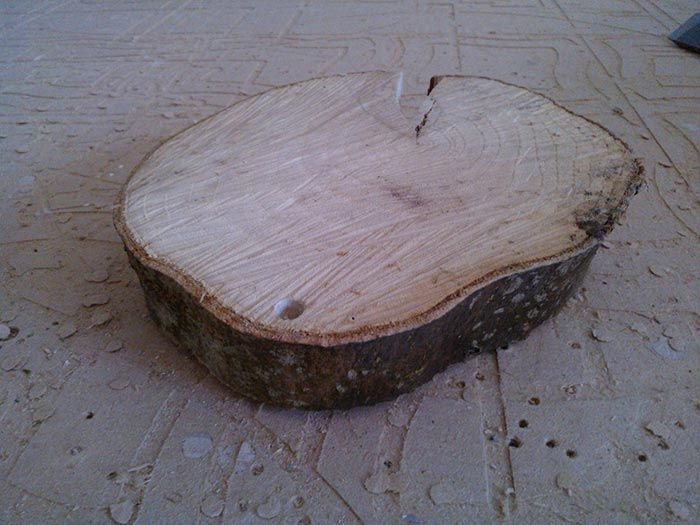
Comme vous pouvez le voir, le séchage aurait pu être mieux géré, surtout que la petite fissure sur le côté s'agrandissait de jour en jour.
Le deuxième défi majeur était de trouver comment le fixer à la machine.
Nous n'avions pas de serre-joints ou de goupilles adaptés, et sa forme irrégulière rendait difficile la création d'un logement pour l'insérer.
Après avoir essayé de le coincer entre 3 morceaux de MDF vissés, on m'a conseillé de visser un morceau de MDF à l'arrière, avec les vis à l'arrière, ce qui me permettrait de visser le MDF directement sur le plateau de la machine sans laisser de vis entrant par le haut.With it firmly attached to the bed I could now plan how I was going to carve the piece.
The first job was to flatten the wood off so that it could be carved.
Its rough size is 6” x 5” x 1”~1.3” and so need this thickness made uniform. This was a simple process to do with a rectangular pocket toolpath cutting only 0.1” at t a time and a 0.5” End Mill. Each time I ran it I would drop the Z0 on the machine by 0.1” which allowed me to rerun the same program over and over to slowly level out my wood. I also angled the direction of the cut to follow the split in the wood to try and reduce the possible stress on the wood.
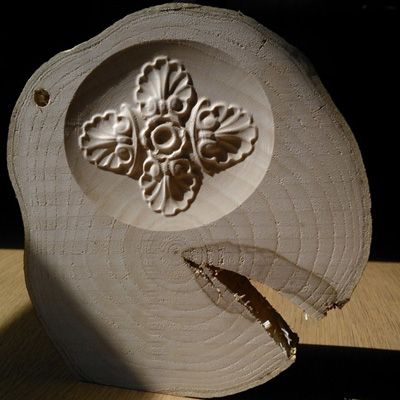
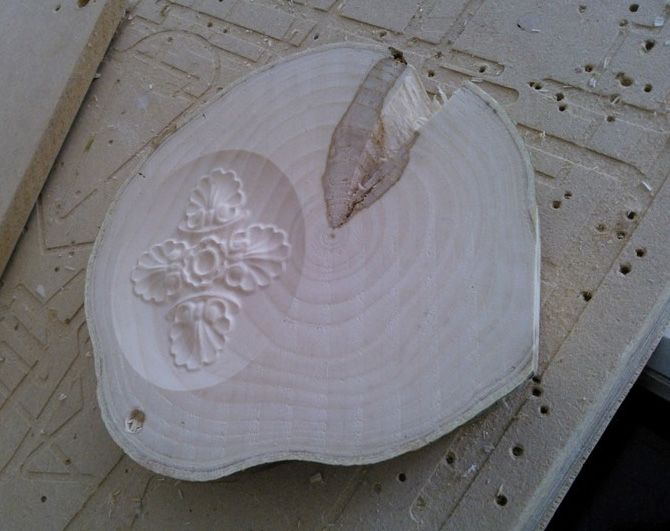
With it now nice and smooth, I measured up the usable space avoiding the large split in the wood. I wanted to avoid part of the design being lost in the split. This gave me an area about 4”x3” to work with and about a depth of about 0.5” before I would risk hitting the screws that are coming up from underneath.I entered the Job size into VCarve Pro and set the Origin point to the centre of the work piece, as it was easier to locate the centre of my carve area with the CNC machine then an offset point in the bottom left corner. Then I browsed though my Clipart Library I had installed from the Vectric Portal and picked out a lovely moulded leaf pattern. It was the work of a moment to drag and drop it into the 2D view, centre it by pressing F9 and then using the scale tool to get it to fit the job area correctly.
Then I applied a 3D Finish toolpath with a 0.125” ballnose bit set to 10% step over and exported the GCode.
Then 30 minutes later the machine finished and I could unscrew my finished piece.Je n'ai pas encore décidé du produit de finition ni de la méthode de scellement, mais vos suggestions m'intéressent. Je serais également curieux de savoir si l'ajout de quelques attaches de câble autour du bois pendant le séchage pourrait améliorer les choses. Je ferai l'essai lors de ma prochaine tentative, dès que j'aurai récupéré du bois supplémentaire !
Leçon apprise : sécher du bois frais est en réalité assez délicat ; cela prend du temps et doit se faire le plus lentement possible. Certaines pièces de bois vont tout simplement se fendre ! Ce projet était surtout l'occasion de travailler avec un matériau différent, et non la résolution de problèmes liés au logiciel ou à la machine.
Vectric Ltd
Precision House
2 Arden Road
Alcester
B49 6HN
Immatriculée en Angleterre sous le numéro 05382596
Immatriculation à la TVA GB115123072
Politique de confidentialité |
Politique relative aux cookies |
Termes et conditions


