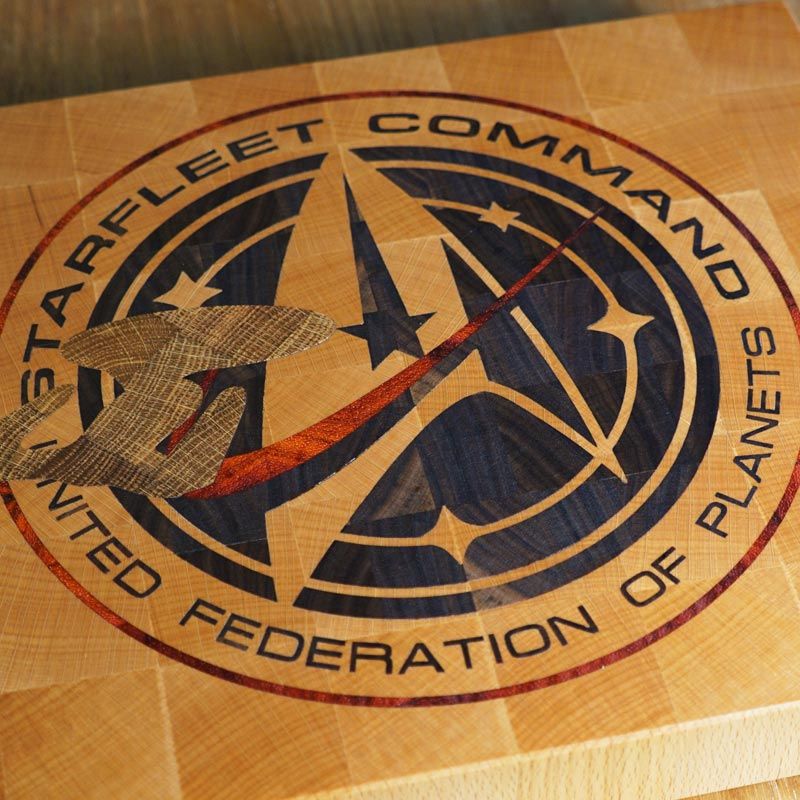
La créativité et l'inspiration partagées sur le forum et les réseaux sociaux de Vectric ne cessent de nous émerveiller, et c'est ce que nous apprécions particulièrement dans cette communauté CNC/Vectric. Un après-midi, en parcourant YouTube, nous sommes tombés sur une vidéo géniale expliquant comment créer une incrustation en V, et nous avons été immédiatement captivés !
Stephan Forseilles crée du contenu pédagogique passionnant sur sa chaîne YouTube. Chaque vidéo nous guide pas à pas dans la création de ces incrustations complexes grâce à l'outil VCarve.
Pour l'étude de cas de ce mois-ci, nous avons pu nous entretenir avec Stephan et lui poser quelques questions sur ses projets d'incrustation et son parcours dans le monde du CNC. Stephan a commencé par nous expliquer ce qui l'a amené à se lancer dans le CNC et pourquoi.…
I work in IT. My education was programming computers but over time I migrated to management and consultancy (I am 50 now). I picked up woodworking about 2 or 3 years ago. But when you love woodworking and programming, you end up wanting a CNC.
I started with a small Chinese 3018 CNC worth around $200. It was small and slow, but I learned the basics by assembling it myself and making my first projects. But after some time, I felt the need for an upgrade and I went for a larger CNC (1000x1000mm) but still a ‘hobby’ model that I got in a kit and had to assemble myself too.
Behind every creative project there is a beginning, so what was it that inspired Stephan to learn all about the art of the v-carved inlay to then go on to teach others?J'étais fascinée par les incrustations que je voyais sur des chaînes YouTube comme « Brother in Wood » et « mtmwood », mais j'avais du mal à obtenir de bons résultats. Il existe peu de bons tutoriels sur ces techniques, surtout pour réaliser des incrustations profondes et très détaillées. J'ai donc commencé à créer de grandes quantités de bois de chauffage incrusté… et je me suis améliorée à chaque essai. C'est un long chemin d'apprentissage, car chaque projet peut prendre des semaines si on n'y travaille que le soir et le week-end. J'apprends encore beaucoup à chaque projet !
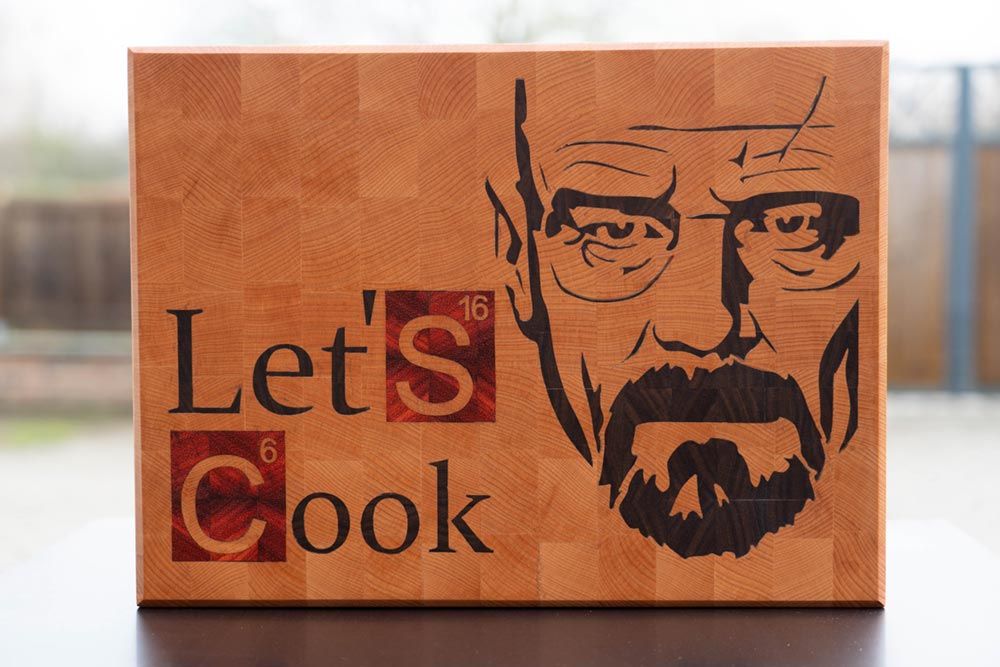
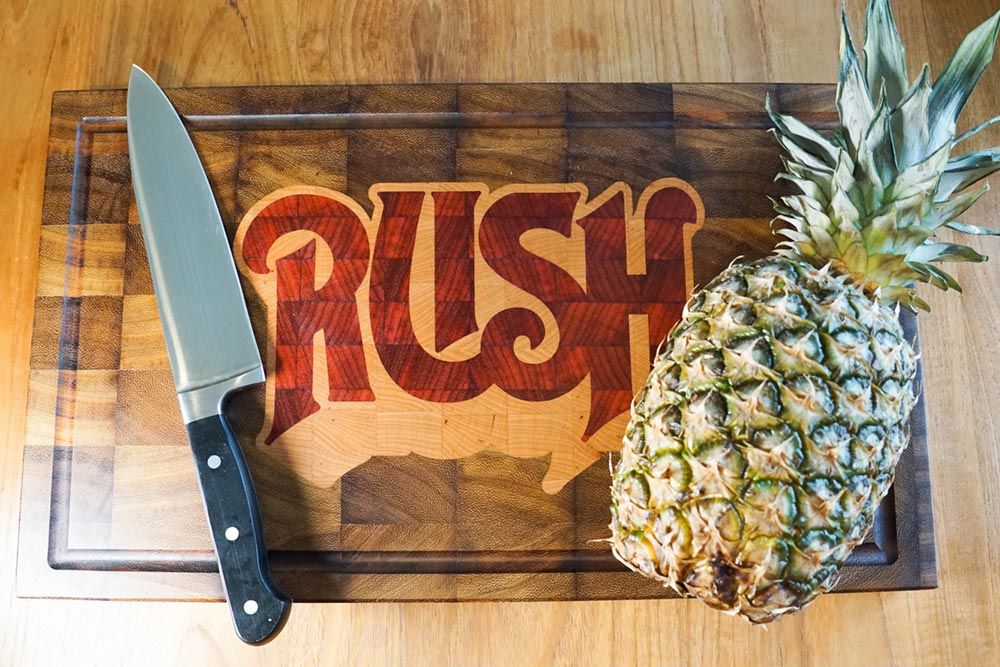
C'est ce qui m'a donné l'idée de partager mes expériences sur YouTube, pour que d'autres puissent progresser plus vite et que nous puissions partager nos astuces et nos conseils.Je fabrique principalement des planches à découper en bois de bout. Quand ma femme m'a dit que 5 ou 6 planches suffisaient pour une cuisine, j'ai commencé à en offrir à mes amis. J'essaie de personnaliser le design et je trouve que ce sont d'excellents cadeaux, à la fois utiles et personnels. Je ne les vends pas pour le moment. Peut-être plus tard, quand je serai plus à l'aise.
Stephan a un sens aigu du détail, mais quels sont les défis qu'il rencontre lorsqu'il démarre un projet et comment notre logiciel contribue-t-il à simplifier ce processus ?…
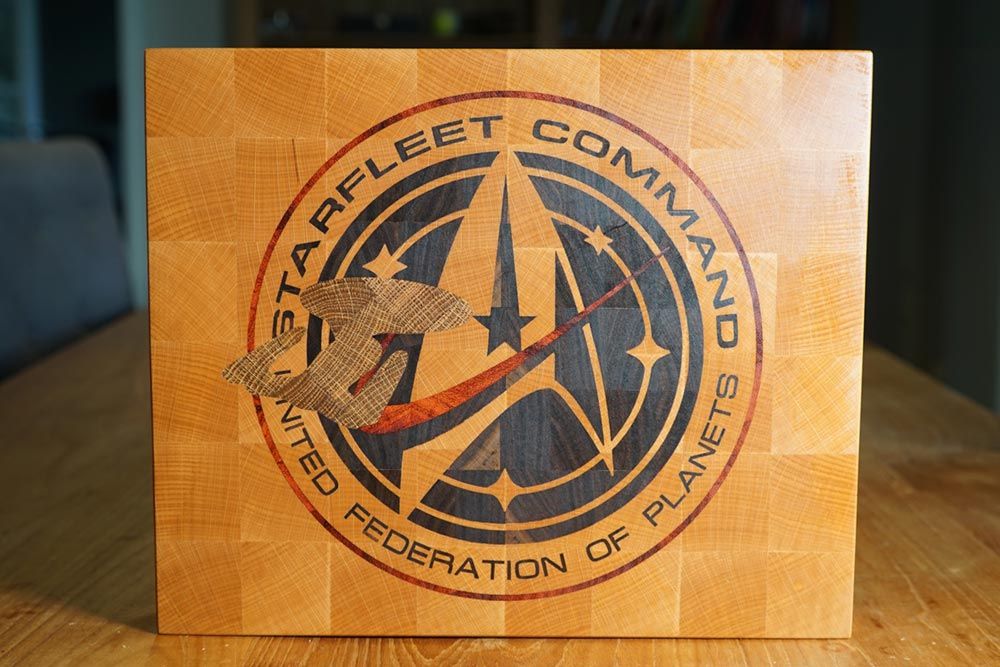
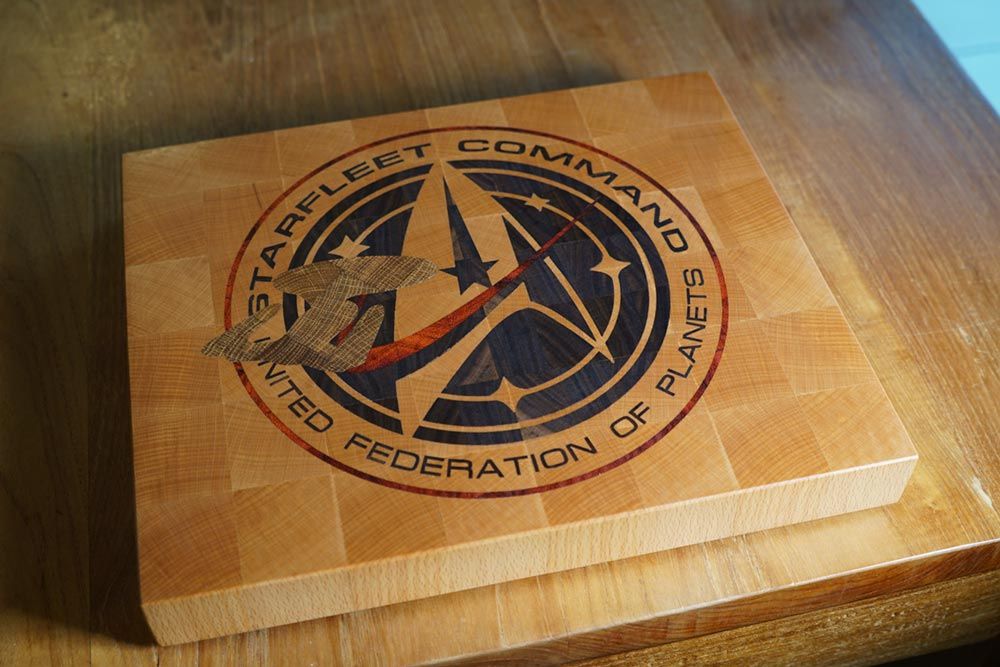
Pour moi, le plus difficile, c'est de trouver l'idée originale ! C'est plus facile si je compte faire un cadeau, car je les personnalise en fonction de ce que je sais des personnes qui les recevront. La dernière que j'ai faite était pour un fan de Star Trek. Mais je dois trouver un projet suffisamment stimulant pour apprendre quelque chose, tout en restant réalisable sans y consacrer des dizaines d'heures de sculpture.Avant, je cherchais simplement un fichier SVG ou je vectorisais une image bitmap dans VCarve, puis je commençais par les tracés d'outils. Mais j'ai appris qu'il est essentiel de consacrer plus de temps à la conception pour s'assurer qu'elle soit bien adaptée au processus d'incrustation. Par exemple : certaines parties de mon motif sont-elles suffisamment étroites pour éviter que la gravure ne s'arrête à la profondeur souhaitée ? Dans mes derniers projets, même si je disposais de fichiers SVG au départ, j'ai tout redessiné dans VCarve. Grâce à l'outil Courbe et à l'édition de nœuds, je peux désormais réaliser presque tout ce que je veux plus rapidement que dans Illustrator.
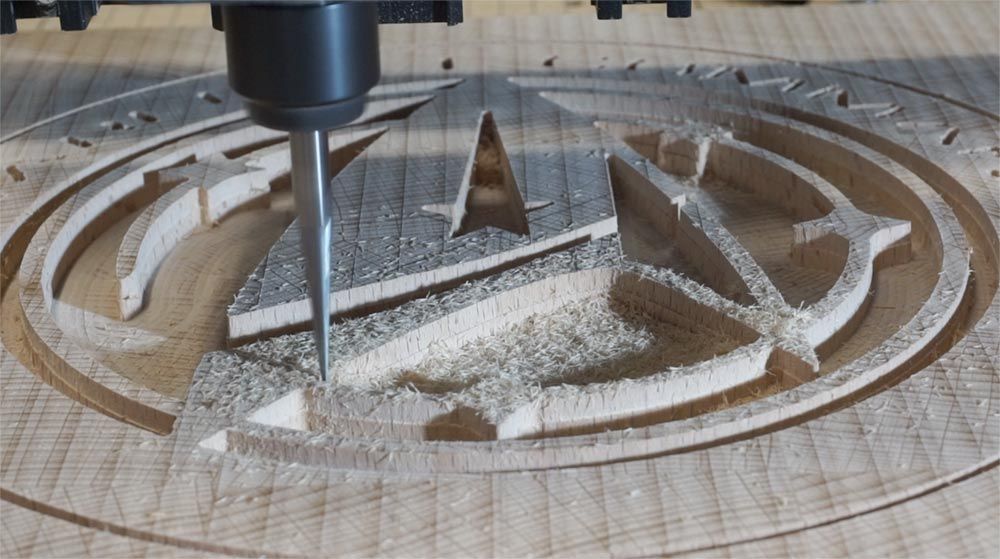
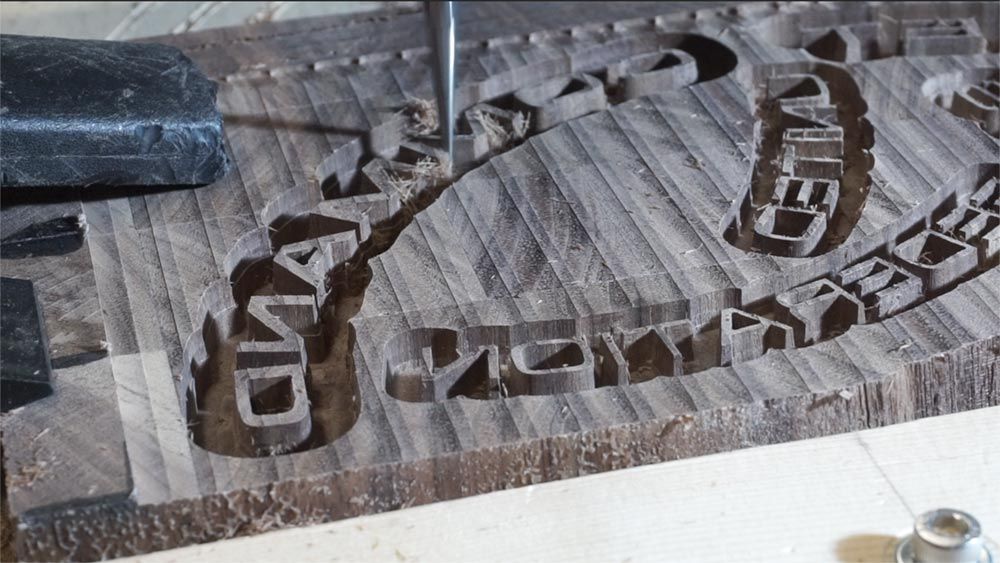
Pour ceux d'entre nous qui réalisent régulièrement des projets d'incrustation avec VCarve, nous avons tous nos paramètres et outils fétiches. Découvrons donc la configuration de prédilection de Stephan.…I mostly use the VCarving/Engraving tool path, of course. If the design permits, I will make the pocket with an 8mm flat depth, so the inlay is deep enough to be resistant. A 2mm inlay is okay for a jewelry box but for a cutting board that will be attacked with kitchen knives and soaked in soapy water every day, you need something stronger. For the plug, I use the ‘Start Depth’ technique to define the penetration depth of the plug (generally 7.5mm so I have a 0.5mm ‘glue gap’) and set a 2 or 3mm flat depth that defines what part of the plug will ‘stick out’ of the inlay and will be removed later.
As my CNC is a light aluminum frame, I cannot carve 10 or 11mm at once so I create “pre-passes” toolpaths, as V-Carve will not do that automatically above the Start Depth (yet?).My ‘go-to’ bits are a 1/8” (3.175mm) straight upcut fishtail bit for clearing out, with 5mm passes at 400 to 600mm/min depending on the wood (sorry for the Metric, I’m European and Imperial is a but alien to me). Finishing is made with a 6mm 10 or 15° V-bit or round-nosed bit (but small nose, generally 0.25mm) which I configure as a carving bit with a flat tip. Also, with 5mm passes, 300 to 500mm/min. Those 0.25mm 10° tips can be rather fragile.
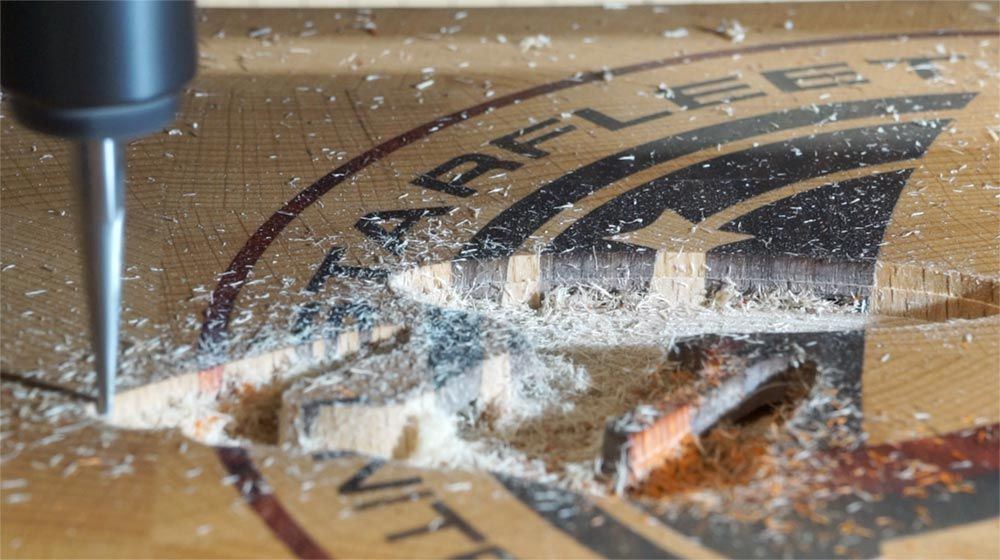
I also use cheap 6mm or ¼’ flat upcut bits for flattening the boards before carving and a same size of downcut bit to remove the excess material of the plug after the glue has set (a bandsaw would be faster, but I don’t have one). I use a downcut for that part of the process because it pushed down so it does not rip the small inlays out of the board.
For those of you that are interested in giving this a go Stephan has some top tips on what materials he uses and why they’re suitable for his projects…I like to use beech as a base for my boards because it is hard enough, has a light beige color on which I can make contrasts, and is easy to find and not too expensive. I also like to work with oak (strong, easy to find, and has that nice smell when you cut it) as light-colored wood. For the dark ones, I often use Iroko but my preferred one is walnut. Unfortunately, it is not easy to find and quite expensive here in Europe. Padauk provides nice orange tones. Those are the ones I use the most.
I get my wood rough from a local mill and I have bought a small planer (a “thicknesser”, on this side of the pond). The cost of the planer is quickly offset by how much cheaper rough wood is!
As I do end-grain boards, prep work is planning, ripping, gluing, planning again, cross-cutting, and gluing a second time. It is a long process but end grain is much more resistant to knives!
Now we want to know how to best finish a project like this!Once the inlay is glued to the base and the excess material is removed with a downcut bit down to 0.5mm above the surface, there is a lot of sanding happening. I start at 40-80 grit up to 1000 grit. If there are small defects or gaps, I will fill them with food-grade epoxy. But in a perfect world, there should not be any.
Then the boards are saturated with food-grade mineral oil and a layer of butcher block wax is applied.
With each inlay Stephan has made, a lot of reflection takes place to ensure that lessons are learnt ready for the next, so what would Stephan change if he could go back and do the inlay projects again…
With every project I learn something new so I always wish I could re-do the previous ones using it. But when I started carving, I lost a lot of time because I did not have the right tool bits. However if you have very large inlays with no details, deep inlays will not work well if they are finished with bits of an angle larger than 15 degrees.Notre objectif est de percer tous les secrets de Stephan pour pouvoir, nous aussi, créer de magnifiques incrustations en V ! Voici donc quelques-uns de ses meilleurs conseils !
J'essaie de partager tout mon savoir dans mes vidéos YouTube ! Mais si je devais donner trois astuces (en plus de la technique), ce serait :
1) Consacrez suffisamment de temps à la conception
2) Apprenez à fabriquer des ébauches de qualité, sans interstices
3) Utilisez une bonne fraise en V de 10 à 15°
4) (Oui, je sais, j'ai dit trois) Amusez-vous !
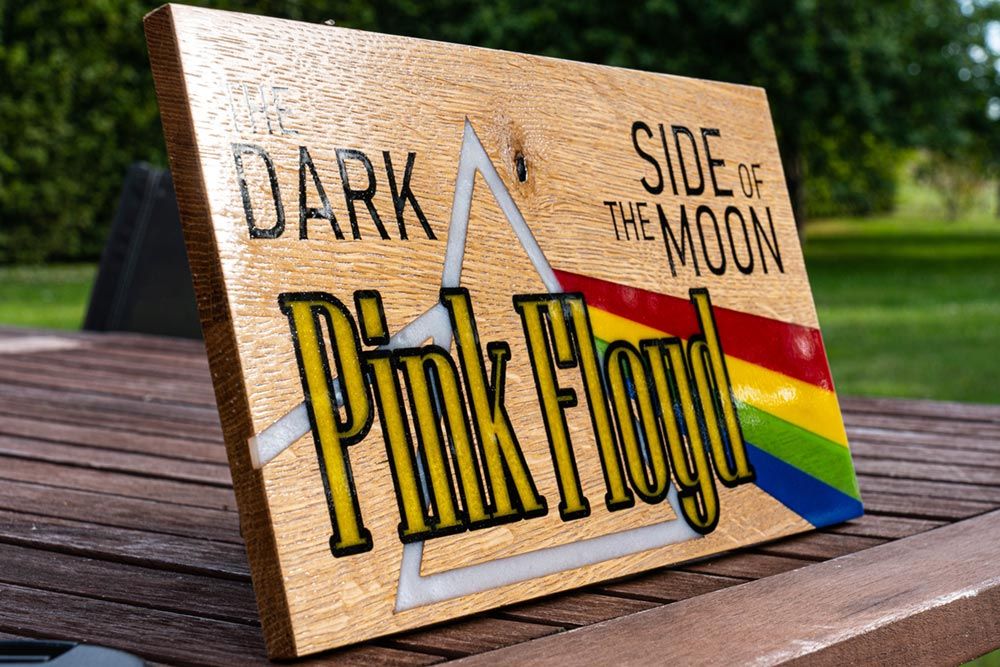
Nous voulons en savoir plus ! Y a-t-il des projets à venir que nous devrions suivre ?I’ve just finished my latest project, a Star Trek-themed cutting board (https://youtu.be/sW82qnea4VA ). I’m currently working on a Harley-Davidson board (a classic) for a friend, but for the future I want to experiment with mixing materials in the inlays: aluminium, synthetic materials, epoxy, … I have also started experimenting with what I call ‘procedural carving’: designing curves with mathematical equations or computer code then converting them to gcode.
WOW we can’t wait! You can subscribe to Stephan’s channel hereto see what Stephan and his googly-eyed CNC are up to next!
We wanted to say a huge thank you to Stephan for taking the time to talk to us about his VCarve inlay projects so that we could inspire our community to try something new. If you have a story you would like us to feature, please get in touch, simply email online@vectric.com. We would love to hear from you.

Vectric Ltd
Precision House
2 Arden Road
Alcester
B49 6HN
Immatriculée en Angleterre sous le numéro 05382596
Immatriculation à la TVA GB115123072
Politique de confidentialité |
Politique relative aux cookies |
Termes et conditions



